Review by Malaysian Beauty and Fashion Blogger Sarah Hotch

How to use a pH Pen for pH test ft Dettol pH Balanced Bodywash

dettol ph balance shower gel; dettolphbalance; dettol ph pen test; how to use ph pen; testing with ph pen; dettol shower gel; shower gel; review; dettol shower creme; dettol shampoo; dettol ph balance shower; dettol anti-bacterial shower gel; dettol ph challenge; dettol ph challenge how to join; dettol pH balance; dettol shower gel review; dettol new shower gel; dettol; dettol malaysia; dettol contest; beauty; beauty blogger; beauty review; malaysia beauty blogger; top beauty blogger; asia beauty blogger; asia beauty portal; malaysia beauty portal; lifestyle; lifestyle blogger; malaysia lifestyle blogger; asia lifestyle blogger; top lifestyle blogger; skincare; beauty review; skincare review; launch; product launch; dettol discount voucher guardian; dettol discount voucher; dettol guardian; dettol discount

dettol ph balance shower gel; dettolphbalance; dettol ph pen test; how to use ph pen; testing with ph pen; dettol shower gel; shower gel; review; dettol shower creme; dettol shampoo; dettol ph balance shower; dettol anti-bacterial shower gel; dettol ph challenge; dettol ph challenge how to join; dettol pH balance; dettol shower gel review; dettol new shower gel; dettol; dettol malaysia; dettol contest; beauty; beauty blogger; beauty review; malaysia beauty blogger; top beauty blogger; asia beauty blogger; asia beauty portal; malaysia beauty portal; lifestyle; lifestyle blogger; malaysia lifestyle blogger; asia lifestyle blogger; top lifestyle blogger; skincare; beauty review; skincare review; launch; product launch; dettol discount voucher guardian; dettol discount voucher; dettol guardian; dettol discount

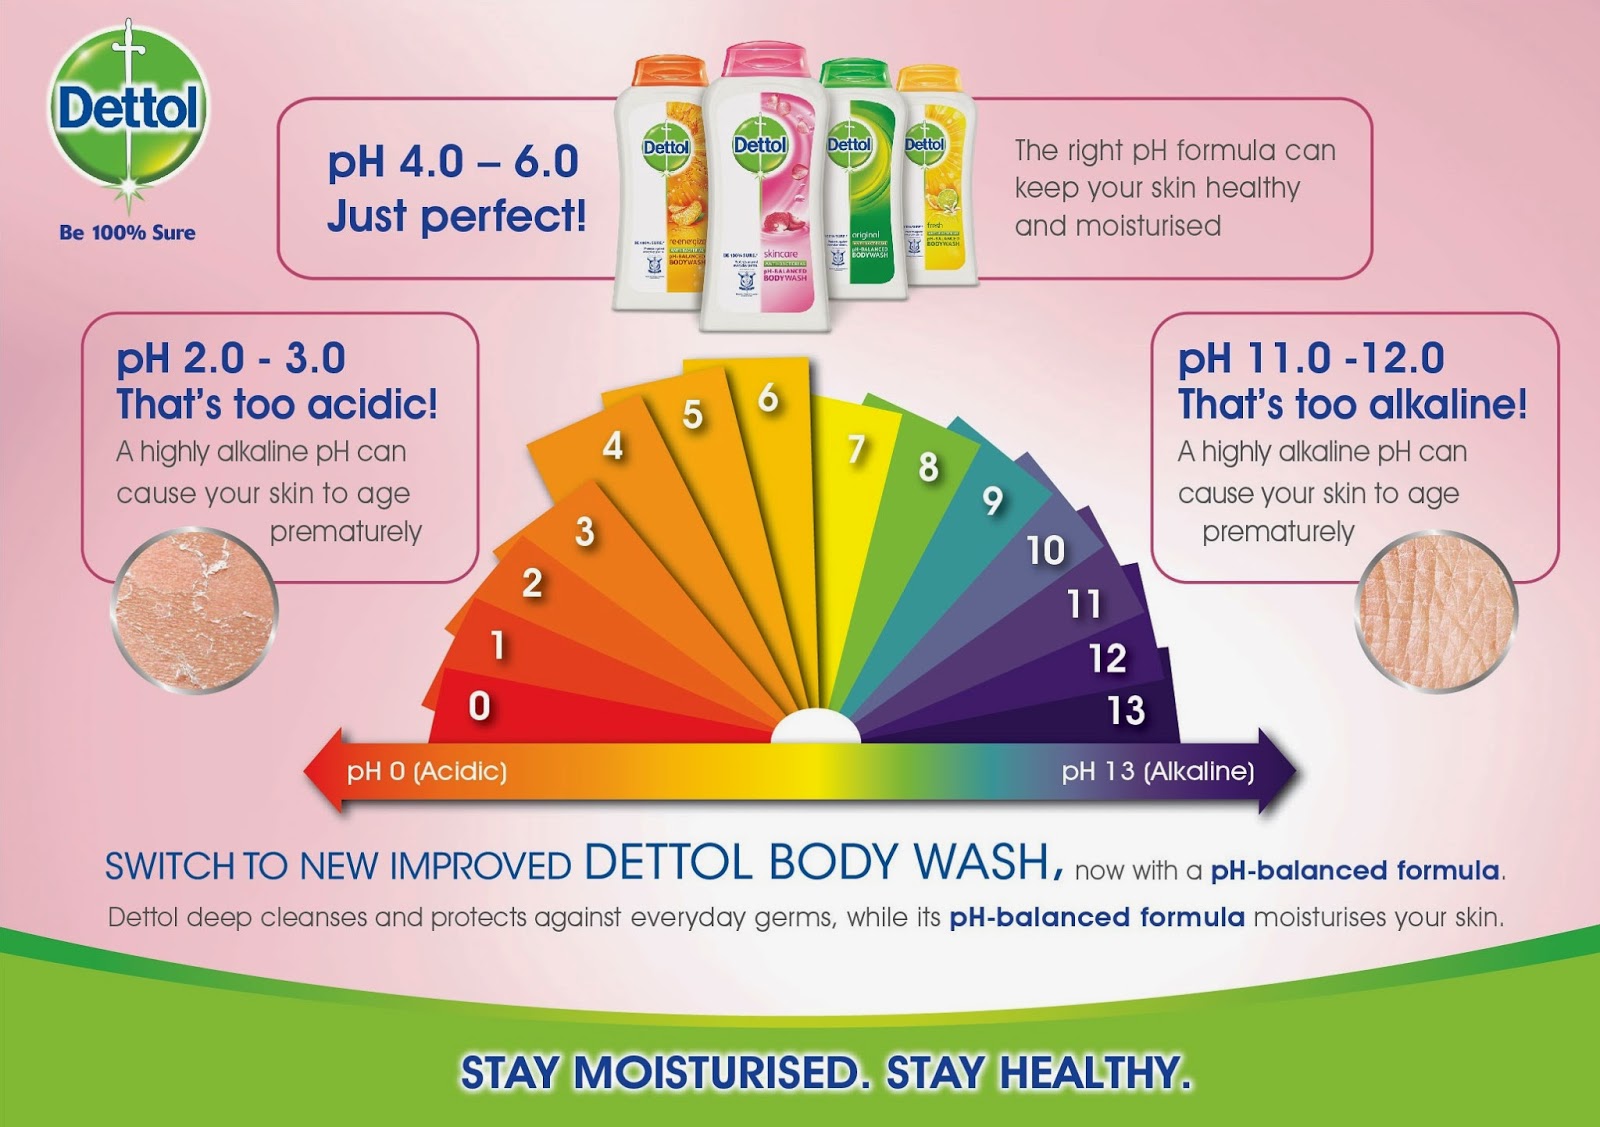
pH Pen test with Dettol pH Balanced Bodywash


Back in the days, I remember using litmus paper, the pastel blue and red paper for pH test, but now they have something new for pH test which is a pH Pen ! So today I am going to give a small science lesson in using this pH Pen in conduct an experiment with the Dettol pH Balance Shower Gel.

Things You Need for pH Test

A pH Pen, Dettol pH Balanced Bodywash, Other Anti-Bacterial Shower Gel and some water. 

pH Test Step-by-Step Walkthrough


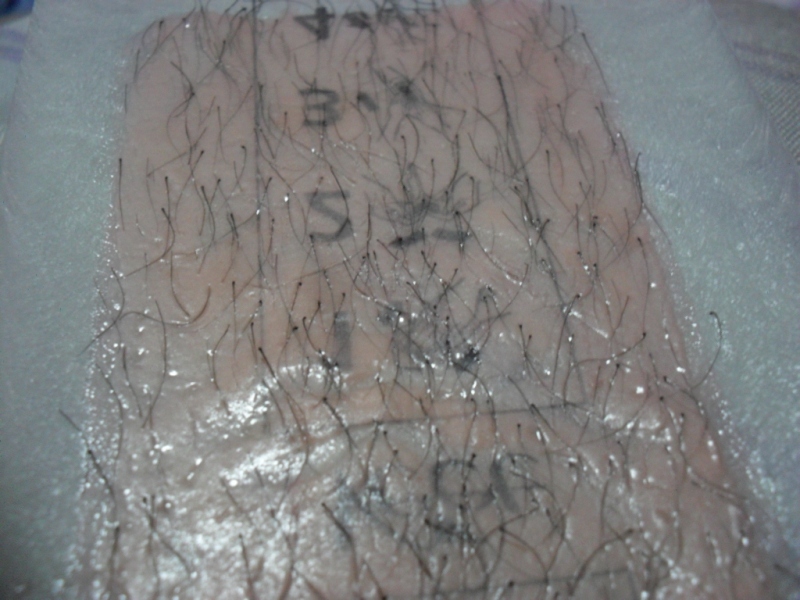
1. Wet a portion of your hand with some water, then draw a line over it with the pH pen.

2. Clean the pH pen with a piece of tissue, ensure there isn't any liquid on the pen.

3. Wet a portion of your hand with the Dettol pH Balanced Bodywash, then draw a line over it with the pH pen.

4. Repeat step 2.

5. Wet a portion of your hand with the other anti-bacterial shower gel you have, then draw a line over it with the pH pen.

Things to take note for pH Pen is that ensure that pH Pen is dry at all time before using it so the result will not be affected by the leftover liquid on the pen.

pH Test Conclusion


dettol ph balance shower gel; dettolphbalance; dettol ph pen test; how to use ph pen; testing with ph pen; dettol shower gel; shower gel; review; dettol shower creme; dettol shampoo; dettol ph balance shower; dettol anti-bacterial shower gel; dettol ph challenge; dettol ph challenge how to join; dettol pH balance; dettol shower gel review; dettol new shower gel; dettol; dettol malaysia; dettol contest; beauty; beauty blogger; beauty review; malaysia beauty blogger; top beauty blogger; asia beauty blogger; asia beauty portal; malaysia beauty portal; lifestyle; lifestyle blogger; malaysia lifestyle blogger; asia lifestyle blogger; top lifestyle blogger; skincare; beauty review; skincare review; launch; product launch; dettol discount voucher guardian; dettol discount voucher; dettol guardian; dettol discount

The result does prove the fact that Dettol pH Balanced Bodywash maintain the pH balance on your skin while keeping us germ-free. While the other anti-bacterial shower gel, turns our skin condition to alkaline.

So let's love our skin and get pH Balanced with Dettol pH Balanced Bodywash ! 


Read the review by realasianbeauty.com!
I purposely grew my hair on my legs just so I could see how well the product works. I had to endure weeks of ugly legs just for this review! (hehe)

The first step is to apply some of the product on the curved part of the spatula. Using the spatula, apply generous amount of the cream on the area that you want the hair to be removed. Leave the cream on the skin for 3 minutes. Then, using the inverted part of the spatula, scrape the cream upward and see the hair get removed easily without force and pain!

I was actually impressed and amazed how well this VEET Hair Removal Cream works! When I was younger, I tried another hair removal cream brand but it didn't work and just left my skin feeling itchy. The VEET cream did not irritate nor hurt my skin. Here's how my skin looks after using the VEET Hair Removal Cream. 
 

Review by Beauty Blogger Theamere Brea
Veet Wax Strips got 2 variants...
The pink one (which i am using) & the green one which is more for those that have sensitive skin.

These are the contents of the box...


6 wax strips (that you peel each so you'll end up having 2)
2 finishing wipes
direction for use

You can read the direction for use first if you are a first timer.
I'll give you all some tips about waxing at the end of this post so for now let's focus on the product itself.

The hair growth should be somewhat obvious to the naked eye for better result. I grew mine like that so that you'll really be able to see the before & after. hehehe. Just imagine how many days i spent wearing jeans & just staying indoors just for the sake of this review. lol!

Going back...
Most often than not, the direction of the hair growth would be downwards. When you wax, you have to go against the grain of the hair which means that when you apply the strip, you have to pull it upwards.

Once you peel the strips off, you have to rub it downwards or going with the grain of your hair so that the hairs would stick to the wax completely. Just rub it 2 or 3x times. Don't over rub it! You wouldn't want to make the wax warm because it is gonna make a mess on your skin. The wax will be left behind on your skin even after pulling the strip. It will be disastrous!

Trust me on this!
Oh & do not...i repeat DO NOT put the other strip on the other leg as you are still working your other leg. The warmth from your skin will melt the wax.

Anyway, you'll get to see the instruction on the strips so you'll never do it wrong, i'm sure.
Here is the before & after picture....


Wow!
Just look at that nice, hair-free (& exfoliated!haha) skin after just 1 pull!
Awesome,no?

Then a close-up picture of the strip (after 1 pull).


Sorry about the disgusting picture but i think you all would want to see how it clearly was able to take off all the hairs in just 1 pull!
I have tried other wax strips & only Veet can lift all the hair off my skin in just 1 pull. So that's just 1 "ouch!" unlike other strips where you would have to do it again & again, which is just simply torturous! We'd rather just do it in 1 go,right?

You can keep on using that 1 strip on your legs over & over until you feel that it's not sticking to your skin anymore.

Then to finish it off you need to use the finishing wipe.
Basically it's just a paper soaked in oil.
Oil will be able to get rid of the remaining wax left behind on your skin.


I love the scent of this!
I think it's like fruity & nutty at the same time... almond,i think.
I can't remember because i haven't used this for a while. hehe
I have to make sure that i include this on my shopping basket the next time i go shopping.