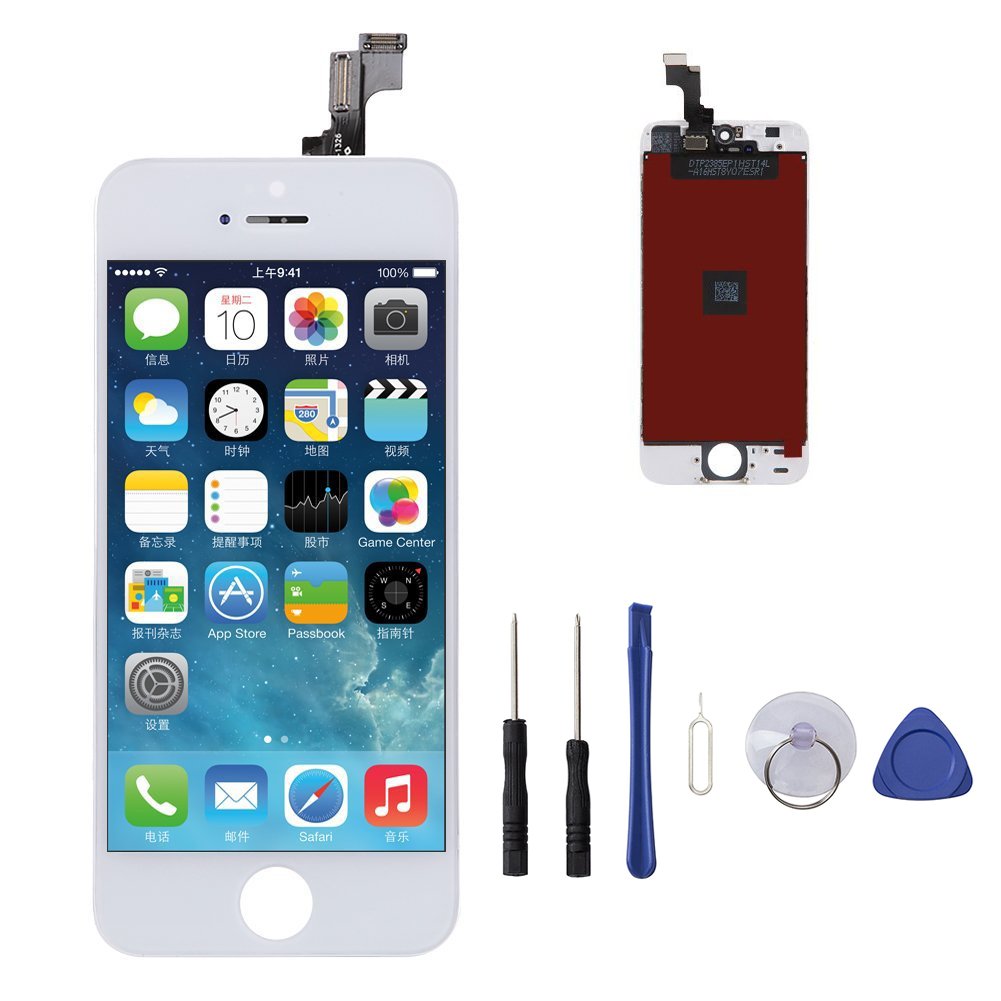
Item Descriptions:
Color:
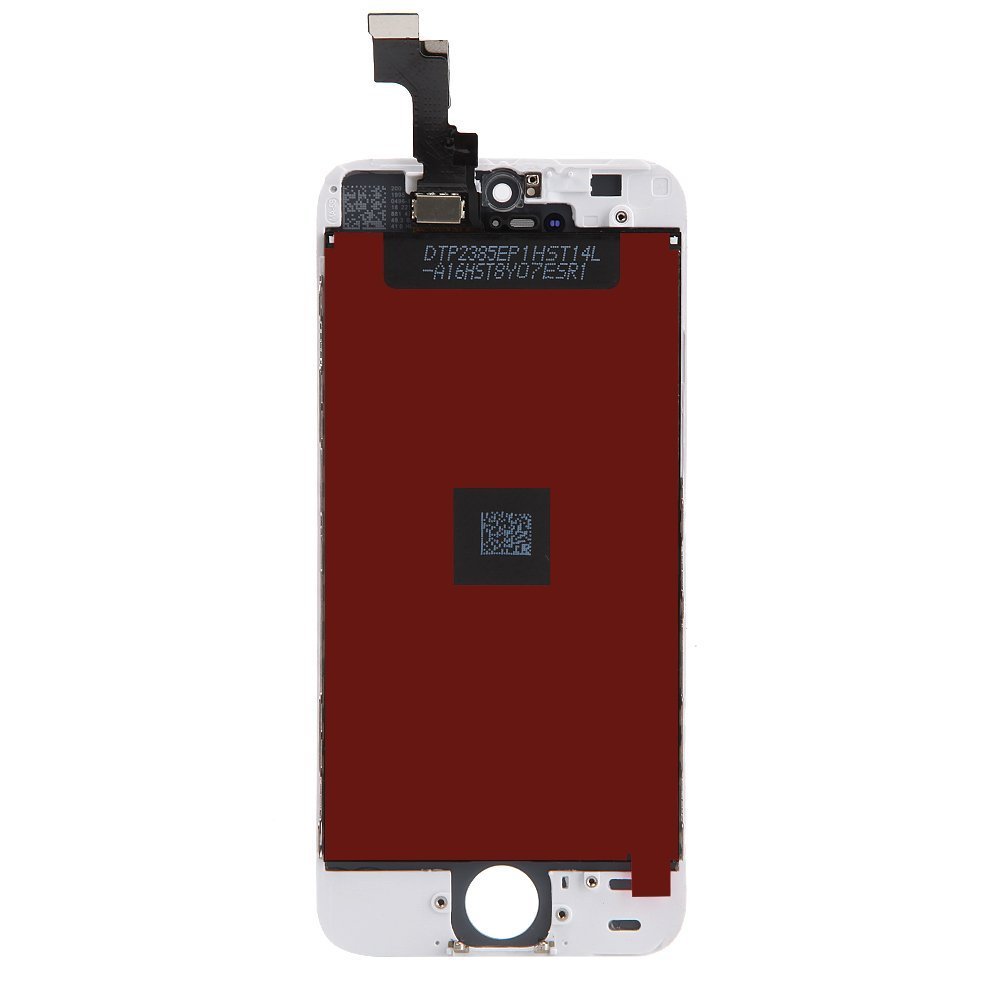
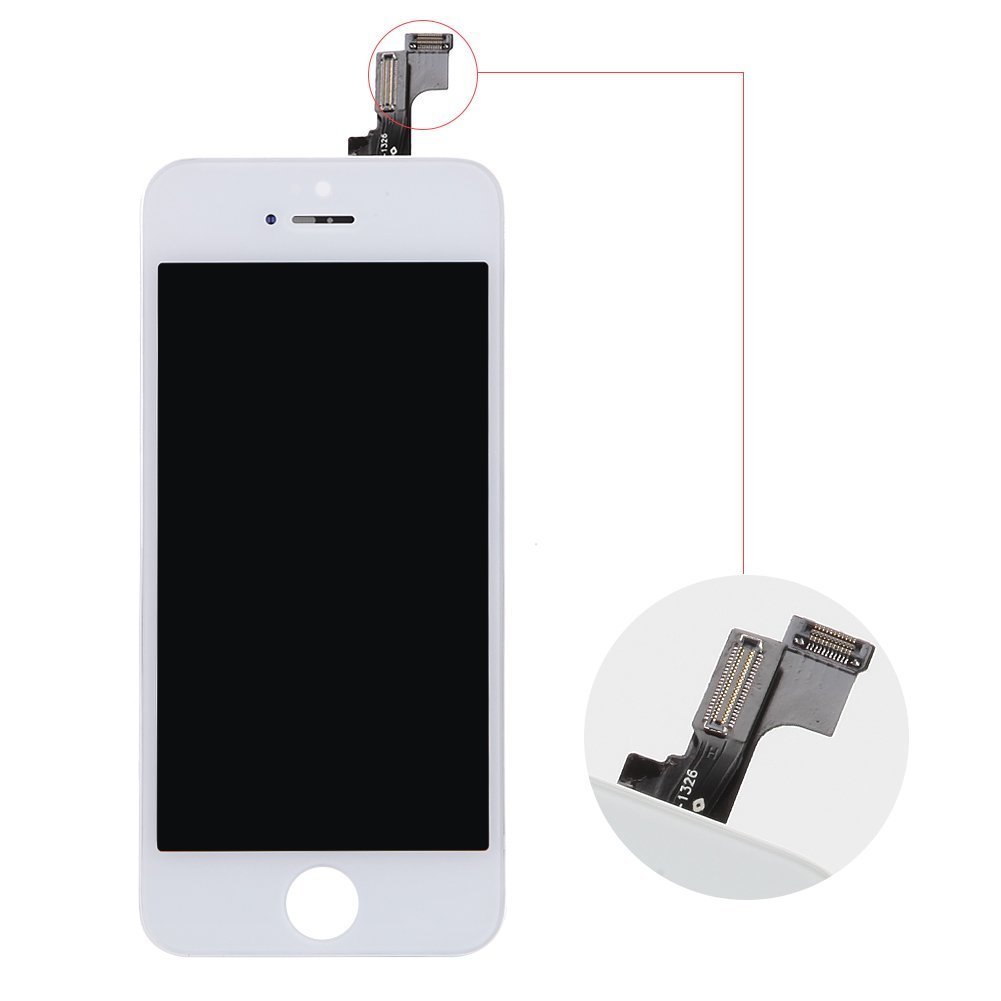
iphone 5S white
Please ask your experts or how to remove it on Youtube and so on, so please refer to it there!
Let's turn off iPhone 5s before starting dismantling work.
Remove the two 3.6 mm penta lobe screws next to the lightning connector.
Just above the home button, press the sucker cup against the screen.
Push the sucker cup firmly so that it fits to the screen.
Holding the sucker cup upward while pressing the iPhone with one hand so as not to move, let go of the front panel from the back case.
Let's take time and slowly proceed with work with the same strength.
It is bonded more firmly than other devices.
Carefully pry open the screen assembly from the rear case using the plastic opening tool and remove it while pulling it with a suction cup cup.
There are several clips adhering the front panel assembly to the rear case.
Let's open the front panel assembly while using both suction cup and plastic opening tool.
Remove sucker cup from main unit.
Hinge the tip of the upper part of the main unit and open the iPhone while moving the end of the home button of the front panel assembly from the rear case.
Several clips fastened along the top edge of the front panel are hinge clasps.
When reassembling, place the clips just below the upper edge of the back case.
Then move upward until the top end of the front panel overlaps the top end of the rear case.
Place the screen so that it can be fixed while it is open and fix it while opening the display to about 90 degrees.
In case of emergency, you can use unopened drinking water can.
Please fasten with rubber band so that you can fix it while opening the display firmly while working.
It prevents unnecessary pressure from being applied to the display cable.
Remove the following Phillips screw from the battery connector bracket.
(Red dot) 2.2 mm 1 screw dish
(Orange's point) 3.2 mm 1 screw dish
Remove the metal battery connector bracket from the iPhone.
Using a plastic opening tool, disconnect the battery connector from the socket on the logic board.
(!) Please do not touch the socket of the logic board and push it against only the battery connector.
If you touch the socket on the logic board, the entire connector may be damaged.
Remove the following five Phillips screws from the cable bracket of the front panel assembly.
(Red dot) 1.2 mm three screws
(Orange Point) 1.7 mm 1 screw dish
(Yellow dot) 3.1 mm screw 1 piece
(!) If you attach these screws to different parts during reassembly, it will cause permanent damage to iPhone's logic board.
Remove the front bracket cable bracket from the logic board.
In the next four steps the cable connector
only
And do not touch the socket on the logic board.
Disconnect the front camera and sensor cable connector from the flat end of the spatger.
Using the flat end of the spatger, disconnect the home button cable connector.
Using the flat end of the spatger, disconnect the cable connector of the display data.
(标签) When reassembling the terminal, the display data cable may come off the connector.
This will cause black and white screen when turning on the power.
In this state, please simply disconnect the cable, turn off the power and restart it.
The best way to reboot the terminal is to disconnect the battery connector once, install it again and turn on the power.
Disconnect the connector of the digitizer cable using the flat side tip of the spatger.
(标签) When reconnecting the digitizer cable,
Please do not push the center of the connector.
Press one end of the connector and press the other end.
If you press the center of the connector, it will bend the component and damage the digitizer.
Remove the front panel assembly from the rear case.
Features:
Product information:
Shipping Weight: 99 g
Package Dimensions: 3.00 x 9.60 x 21.01 cm
SHIPPING METHOD
Delivered directly from Japan by Japan Post. It will take 3 to 5 business days to prepare the order for shipping. We guarantee careful packing and safe shipping.Please note that in some cases additional import or VAT charges may incur and have to be borne by the client.
1. Japanpost registered mail
Shipment by Japanpost Registered Mail (Standard). Trackable any time with tracking number. Insurance is not available. Delivery time usually is between 1-3 weeks from the date of dispatch. Some items are not eligible for Standard Shipping.
2. Qxpress Standard
Shipment by Qxpress standard service. Trackable at any time with tracking number. Registered and insured up to a value of item price and shipping fees.Delivery time is usually between 5-10 business days from the date of dispatch.
3. EMS
Shipment by Expedited Mail Service. Trackable at any time with tracking number. Registered and insured up to a value of $200 and usually delivered in 2-6 business day from the date of dispatch.

| Japanpost registered mail | Qexpress | EMS | |
|---|---|---|---|
| Shipping Method | Japanpost Registered Mail (Standard) | Standard Qexpress | EMS (Expedited Mail Service) |
| Trackable | Yes | Yes | Yes |
| Insured | N/A | Yes (Up to item price and shipping fees) | Yes (Up to $200.00) |
| Asia | 1-3 weeks | 5-10 days | 2-5 days |
| Oceania; North America; Central America and the Middle East | 2-4 weeks | 6-14 days | 2-6 days |
| Europe | 2-4 weeks | 6-16 days | 3-8 days |
| South America and Africa | 2-4 weeks | 10-18 days | 4-8 days |
NOTICE:
"According to Qoo10 guide line,overseas shipping fees will be charged to you extra if you choose Qxpress standard shipping.We recommend you to compare the total price of your purchase with EMS."
