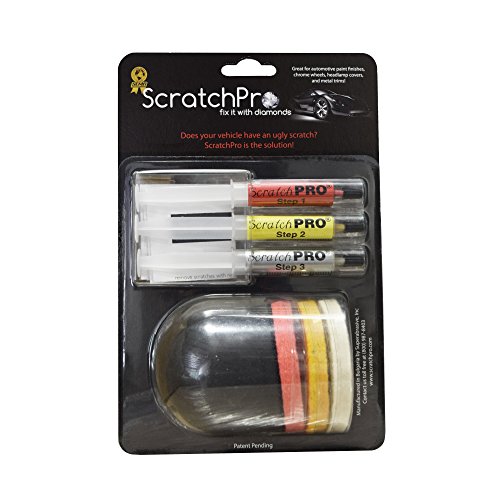
SCRATCH PRO KIT FOR SCRATCH REPAIR OF AUTOMOTIVE PAINT FINISHES AND HEADLIGHT RESTORATION

FEATURES

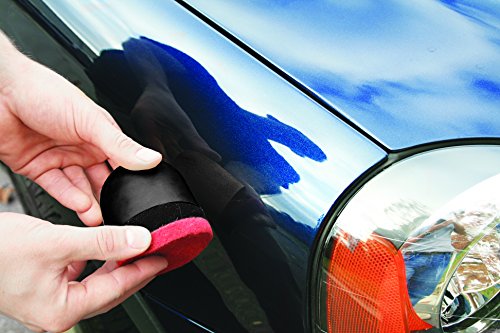
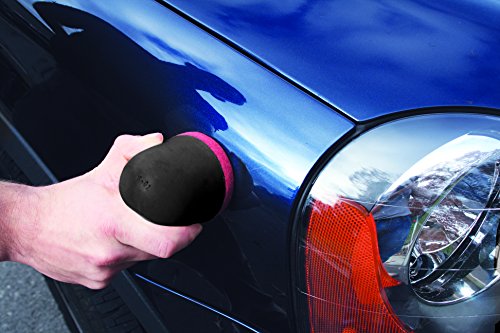
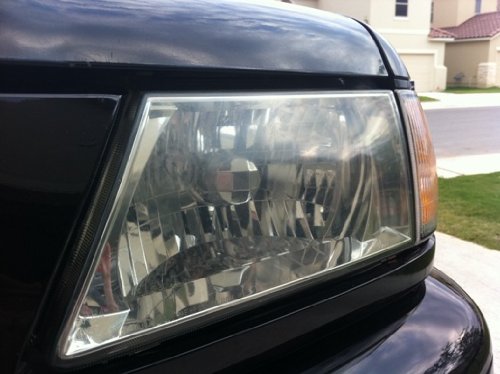
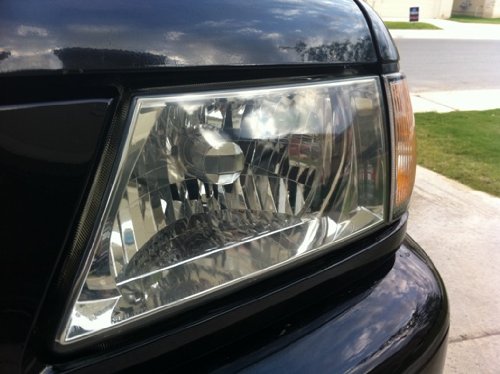
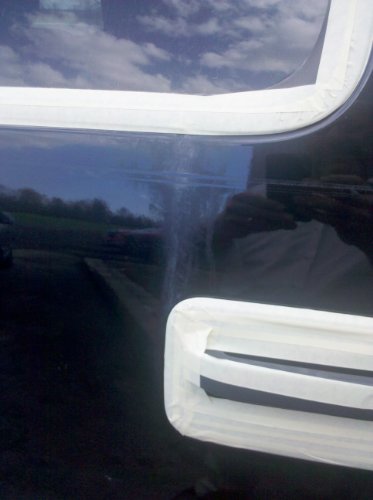
  • A Scratch Repair Kit That Works - Effectively Removes Light and Medium Scratches and Polishes Automotive Paint Finishes, and Restores Headlights to look like new.
  • The first and only product of this kind utilizing diamond powder technology.
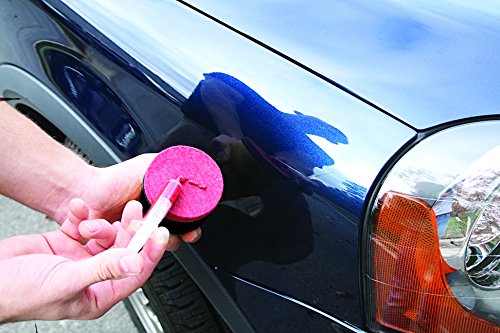
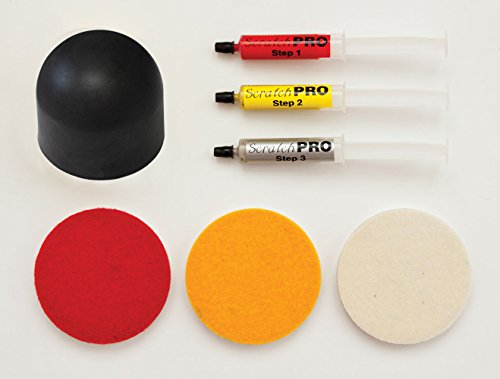
  • Kit Includes 3 Diamond Buffing Compounds: Step 1 Red - Scratch Removal; Step 2 Yellow - Buffing and Blending; Step 3 Grey - Polishing.
  • Do It Yourself Auto Detailing - No Professional Tools Required.
  • 100% Worry-Free with a Money Back Guarantee.

SPECIFICATION

Model No.013964072952
Item Dimension8.89 x 15.24 x 23.50 Cm
Package Dimension15.29 x 7.59 x 23.09 Cm
Package Weight0.18 ~ 0.22 Kg
Product GroupAutomotive Parts and Accessories
AvailabilityAvailable (Usually ships in 1-4 business days)

DESCRIPTION

Scratch Pro kit is a new revolutionary product for repair of scratches on automotive paint finishes, headlights and metal trims. Scratch Pro is the first and only product of this kind containing diamond powder. The natural hardness, durability and heat conductivity of diamonds makes it particularly suitable for use in hand polishing and scratch removal. Scratch Pro gives rapid results similar to a polishing machine, but with the control, cost, and simplicity of hand polishing.
Each Scratch Pro kit includes: 3 color-coded syringes with diamond compound for scratch removal (step 1), buffing (step 2) and polishing (step 3), 3 color-coded buffing pads with plastic protectors, and 1 foam gripper for buffing by hand.
Please read the application instructions before use. The Scratch Pro kit is designed for repair of light to medium scratches on automotive paint. For deep scratches that have exposed the metal under the paint, you have to apply a OEM touch-up paint and clear coat (not included in kit) before starting with Scratch Pro. Make sure the touch up paint is completely dry.
Always clean the scratched area well with a mild cleaning agent before starting and between each step. Work with Step 1 buffing vigorously in a circular motion until the scratch is no longer visible. This may take several minutes, but it is important to remove the scratch during this step. Clean the area thoroughly of all residue after each step and before proceeding to step #2. Failure to completely clean all of the diamond compound from the surface will cause scratching during the following steps. During Step 2 and Step 3 you should feather out the area you worked on with the previous step to ensure seamless blending. Take your time with Step #3 even if the area appears polished, as rushing through this step may result in a hazed look. If you notice any hazing, go back and repeat this step.