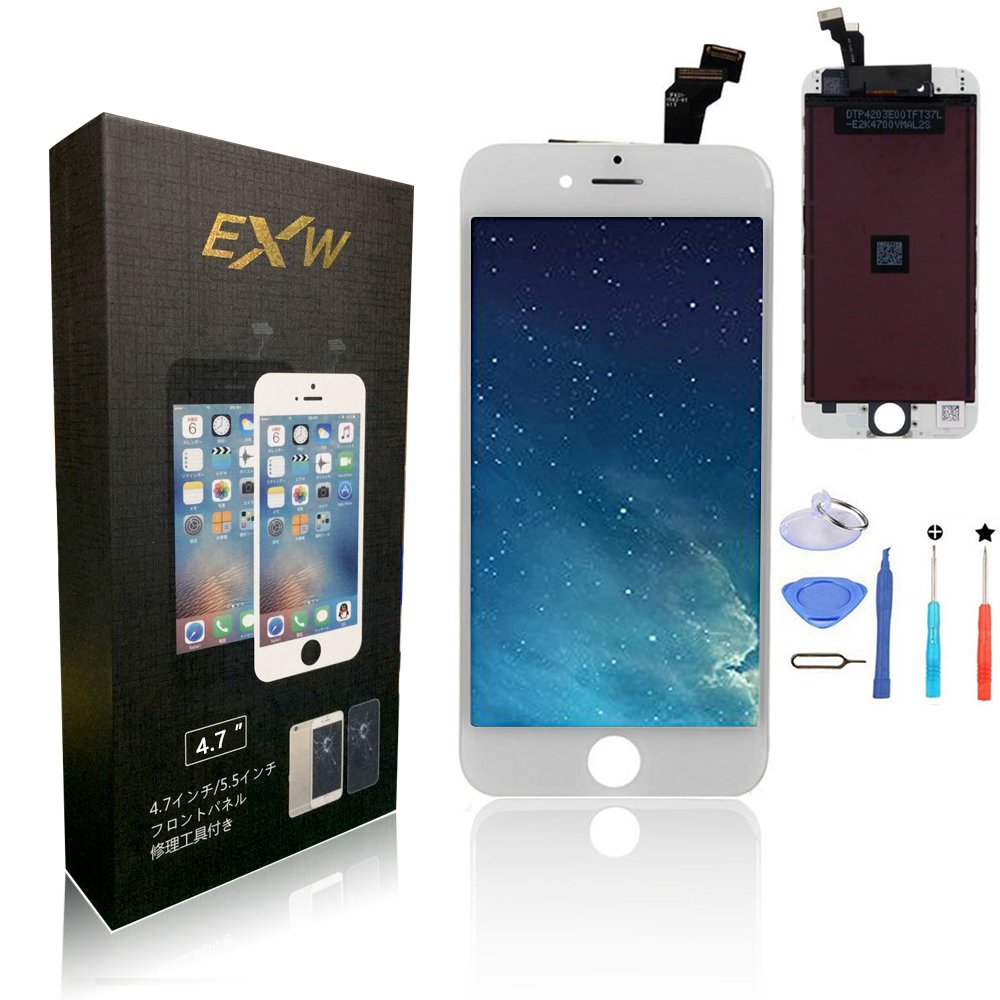
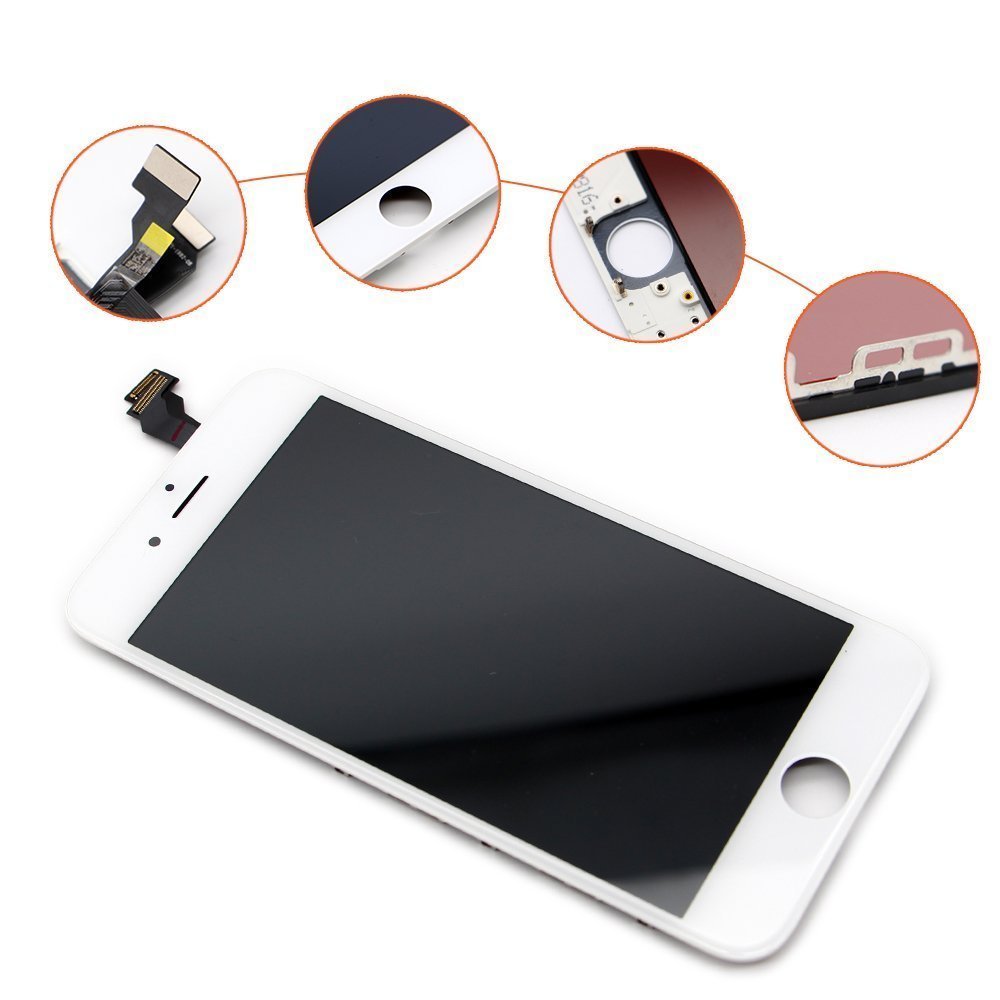
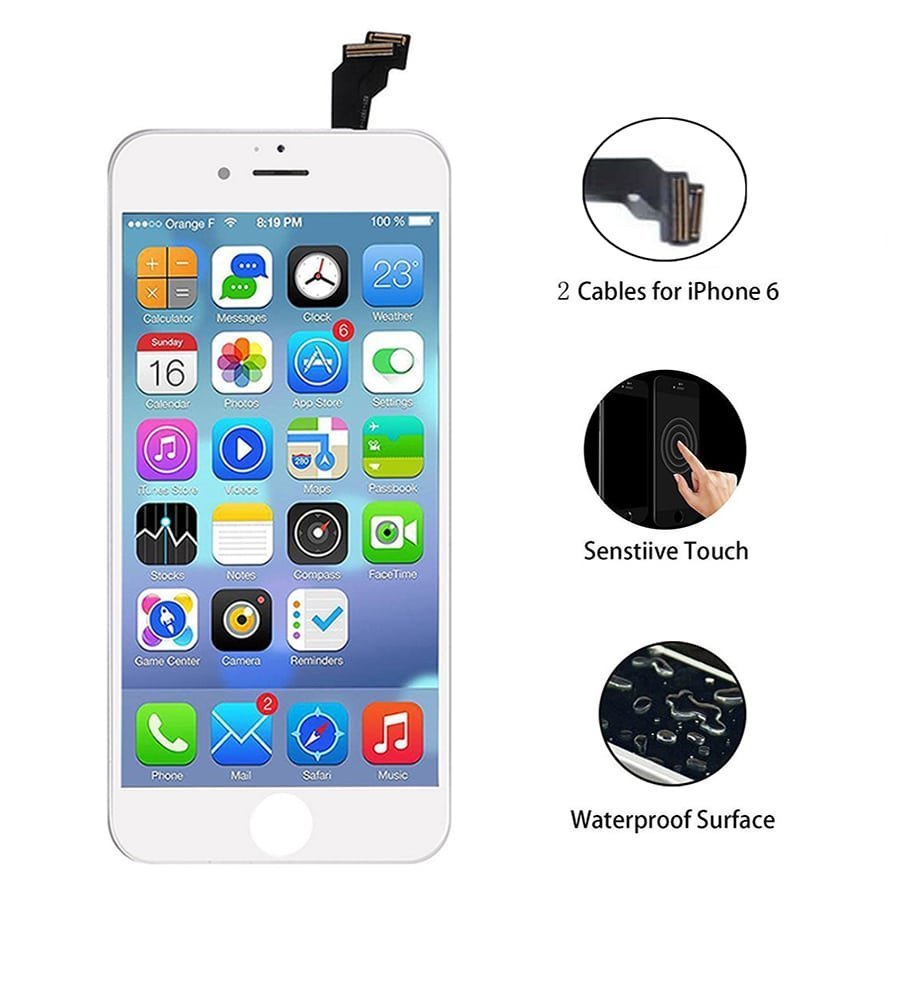
Item Descriptions:
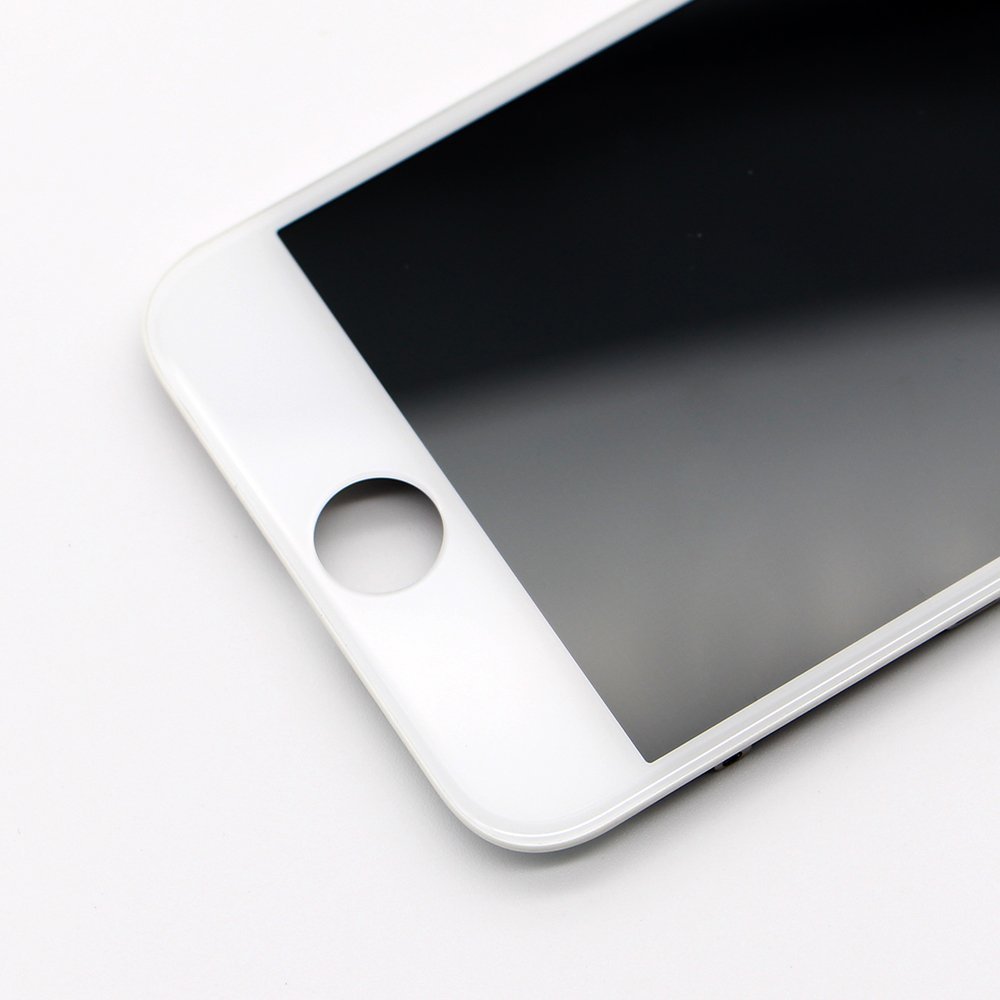
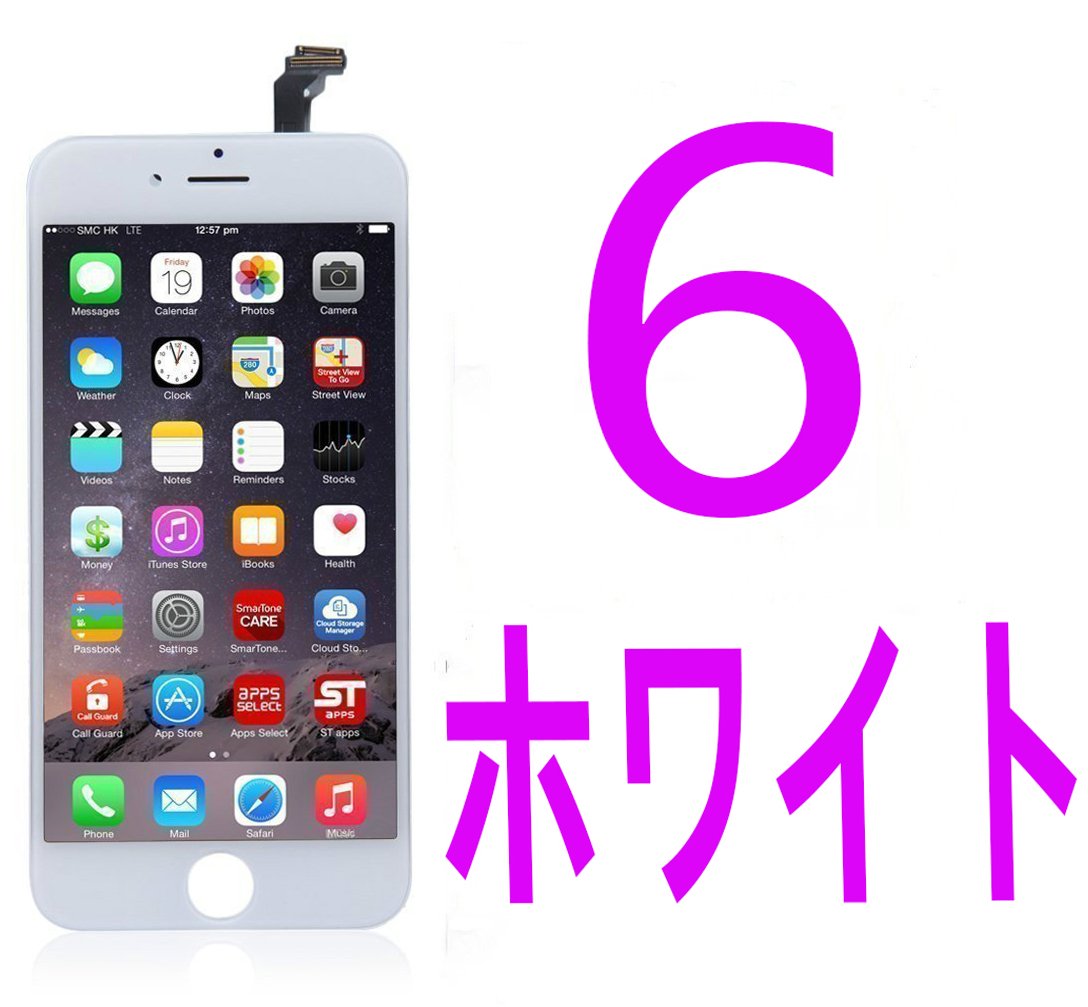
Color:
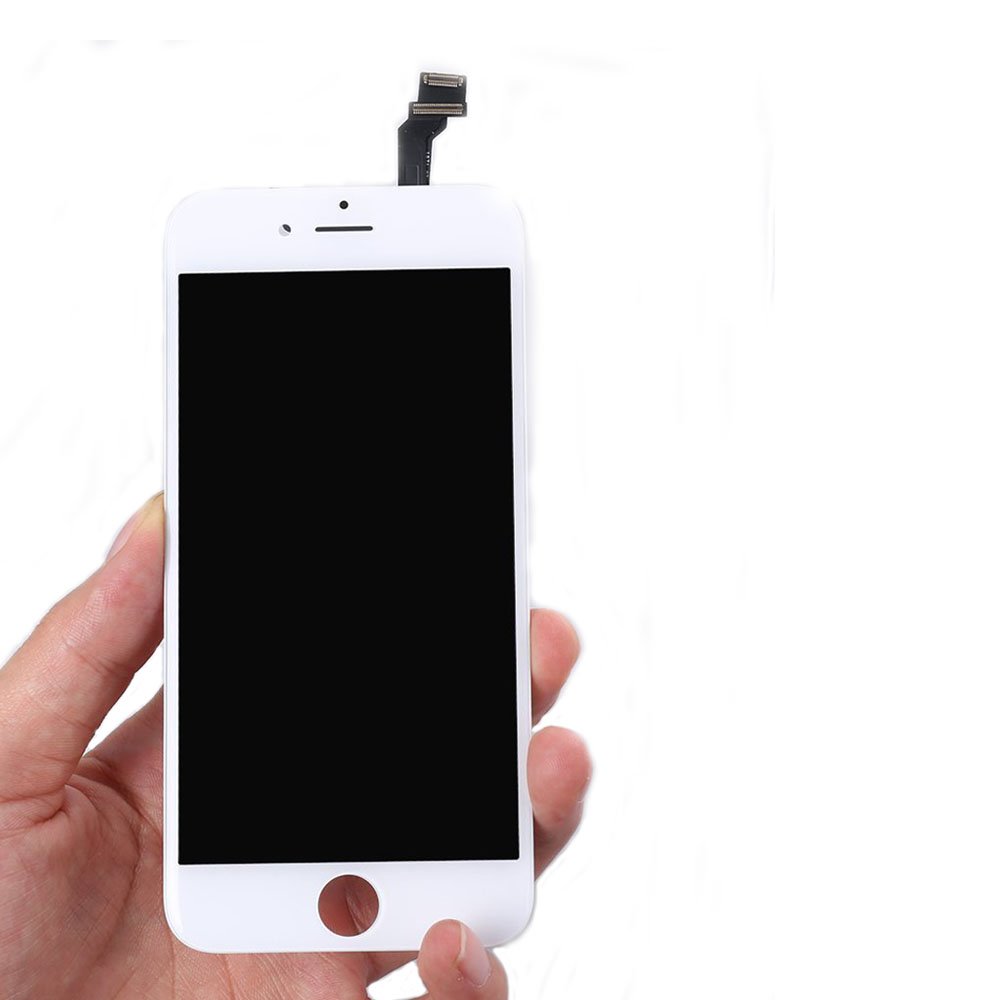
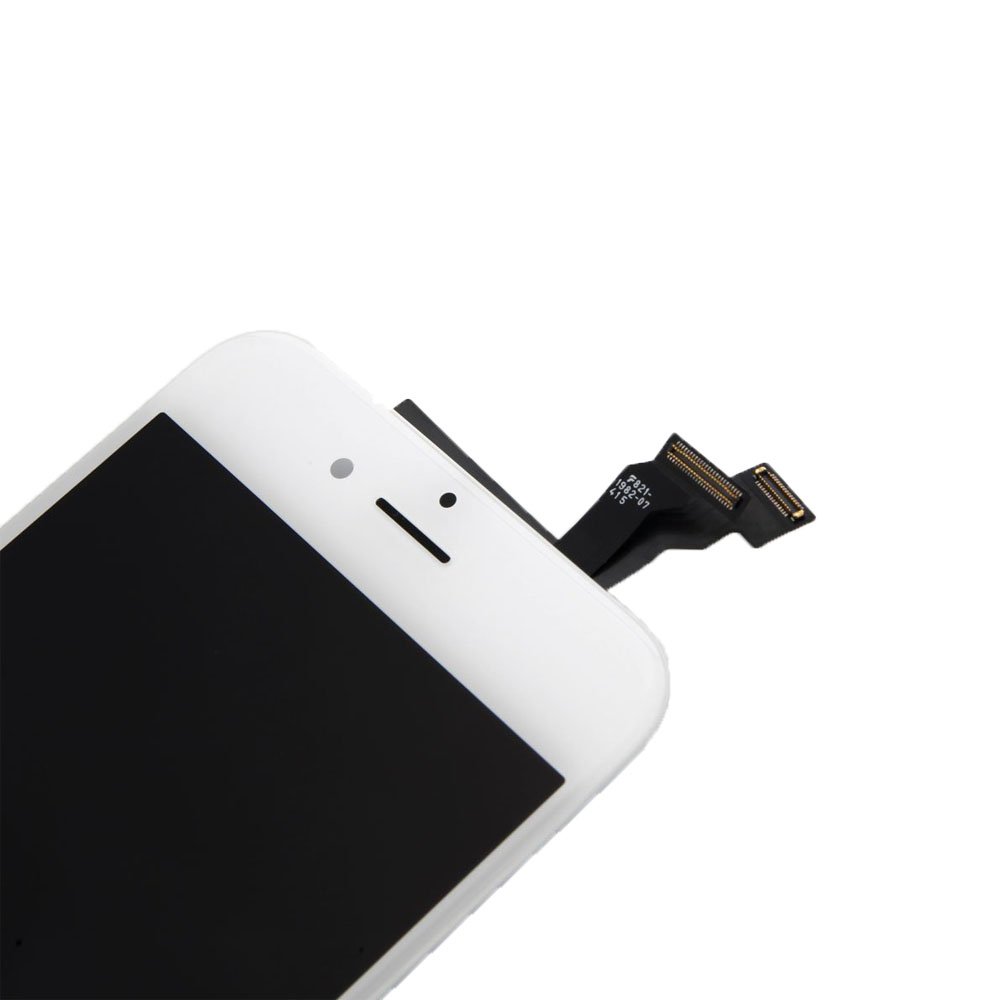
White
Procedure 1 Turn off the main unit and remove the SIM card, Remove the screws on both sides of the Lightning connector
Press and hold the Sleep button to confirm that the main unit has been turned off, then take out the SIM card using the attached SIM eject tool.
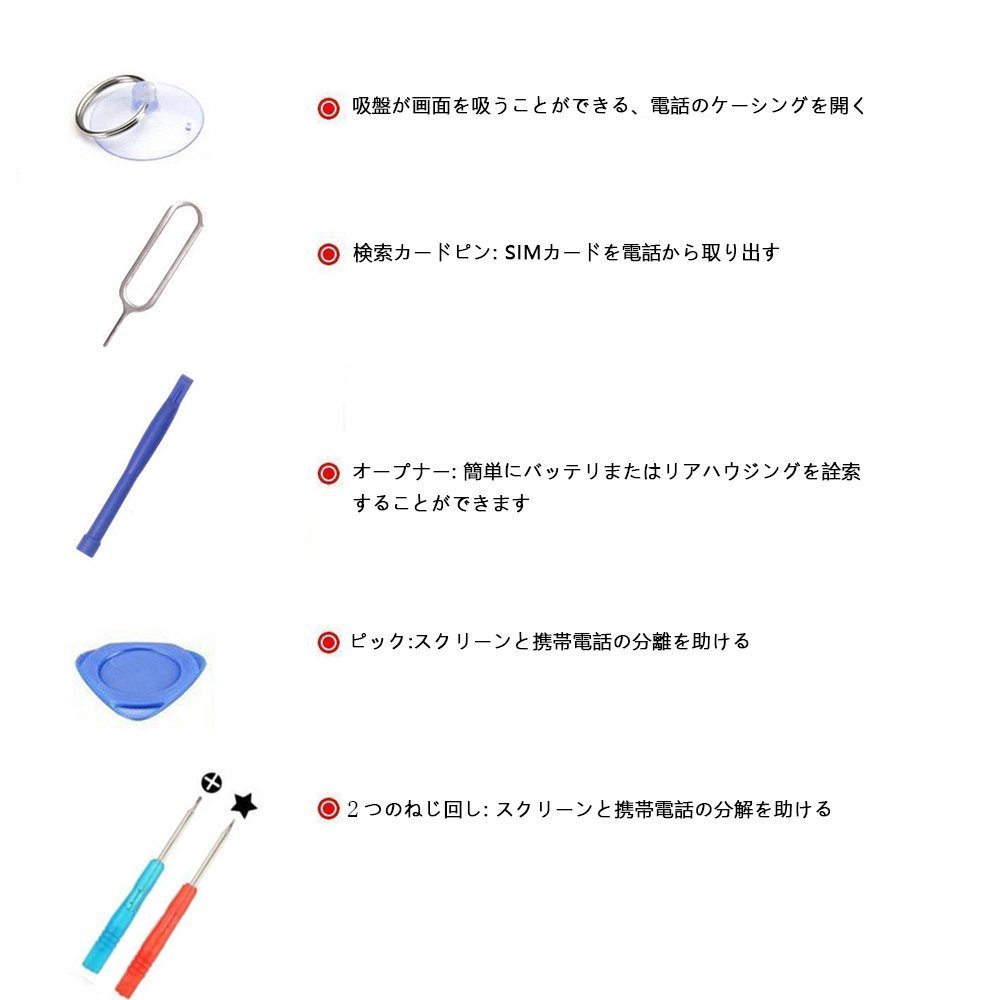
(Repair tool: SIM removal tool)
Remove the two star penta lobe screws (3.4 mm) on both sides of the Lightning connector at the bottom of the main unit.
(Repair tool: Star penta lobe driver)
Step 2 Open the front panel, remove the front panel connector screws and contact terminals
Open the front panel with a pliers double suction cup.
Although you can open it even with a normal suction cup, it is important to open it little by little by using a plastic spatula as connecting cables and the like may be cut if it is opened vigorously.
Remove the screw securing the front panel connector to the logic board with a Phillips screwdriver.
There are two lower side with respect to the main body, 1.3 mm in the middle screw, 3.0 mm in the upper right, 1.6 mm in the upper left.
When the screw is removed, remove the metal cover from the logic board with tweezers.
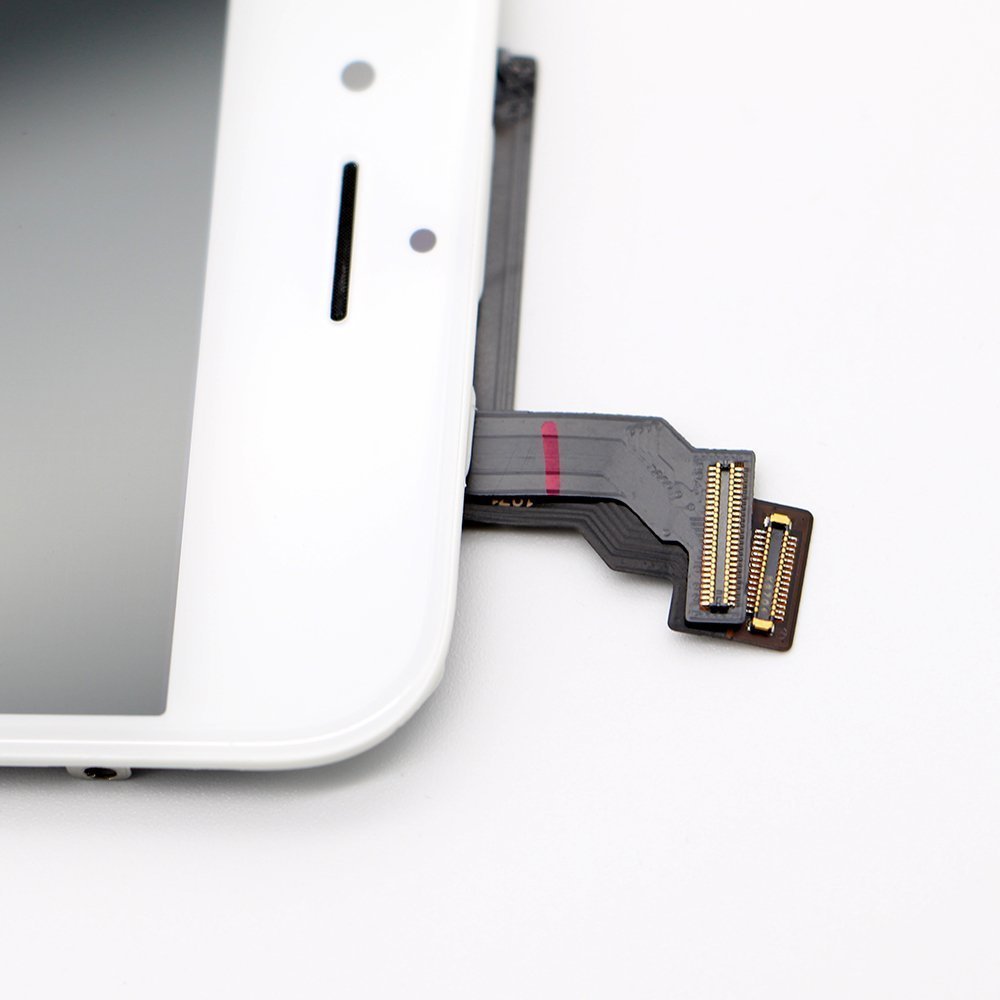
Step 3 Remove the front panel connector, remove the home button connector screw
Remove the front panel connector from the logic board.
Insert the plastic spatula and lift it from the bottom, but if you put too much force it will break the connector or the logic board will be broken and you need to do a polite work.
Remove the 1.7 mm screw securing the metal cover of the home button to the connector with a Phillips screwdriver,
Remove the metal cover with tweezers.
Remove the connector part of the home button so that it lifts up from the bottom with a plastic spatula, carefully hold the home button with tweezers and remove it.
Then remove each of the seven screws (1.5 mm) fixing the back panel plate to the left and right, respectively.
Step 4 Remove screws and contact terminals of the front camera connector and install a new front panel
Remove the screw securing the front camera connector with a Phillips screwdriver.
The left side and center are screws of 2.3 mm, the right side is 1.3 mm screw.
When the screw is removed, remove the metal cover with tweezers.
Using tweezers, remove the metal cover and speaker.
After transferring the removed parts of the front panel to the new front panel,
Front panel replacement work is completed if iPhone 6s can be reassembled according to the reverse procedure in reverse order.
Features:
Product information:
Shipping Weight: 131 g
Package Dimensions: 3.00 x 8.99 x 17.20 cm
SHIPPING METHOD
Delivered directly from Japan by Japan Post. It will take 3 to 5 business days to prepare the order for shipping. We guarantee careful packing and safe shipping.Please note that in some cases additional import or VAT charges may incur and have to be borne by the client.
1. Japanpost registered mail
Shipment by Japanpost Registered Mail (Standard). Trackable any time with tracking number. Insurance is not available. Delivery time usually is between 1-3 weeks from the date of dispatch. Some items are not eligible for Standard Shipping.
2. Qxpress Standard
Shipment by Qxpress standard service. Trackable at any time with tracking number. Registered and insured up to a value of item price and shipping fees.Delivery time is usually between 5-10 business days from the date of dispatch.
3. EMS
Shipment by Expedited Mail Service. Trackable at any time with tracking number. Registered and insured up to a value of $200 and usually delivered in 2-6 business day from the date of dispatch.

| Japanpost registered mail | Qexpress | EMS | |
|---|---|---|---|
| Shipping Method | Japanpost Registered Mail (Standard) | Standard Qexpress | EMS (Expedited Mail Service) |
| Trackable | Yes | Yes | Yes |
| Insured | N/A | Yes (Up to item price and shipping fees) | Yes (Up to $200.00) |
| Asia | 1-3 weeks | 5-10 days | 2-5 days |
| Oceania; North America; Central America and the Middle East | 2-4 weeks | 6-14 days | 2-6 days |
| Europe | 2-4 weeks | 6-16 days | 3-8 days |
| South America and Africa | 2-4 weeks | 10-18 days | 4-8 days |
NOTICE:
"According to Qoo10 guide line,overseas shipping fees will be charged to you extra if you choose Qxpress standard shipping.We recommend you to compare the total price of your purchase with EMS."
