Studio : Mcelf Int. Publisher : Mcelf Int. Product Description
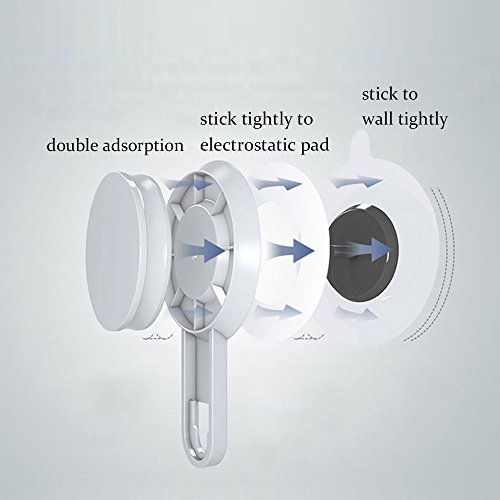
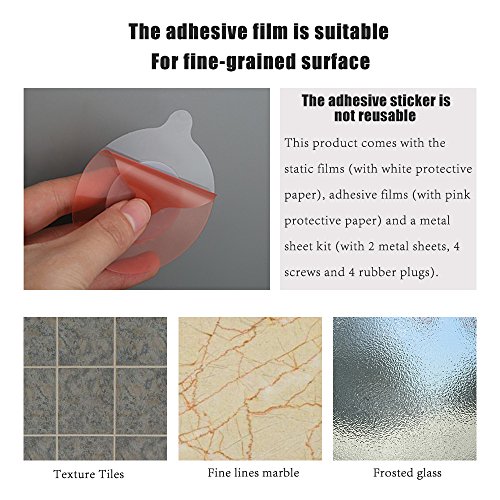
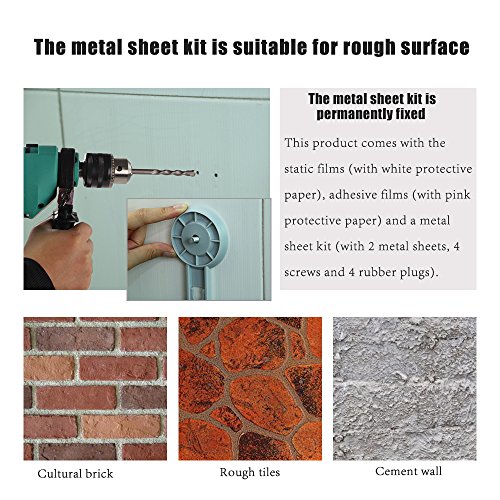
Use's Guide A. For smooth surface, use static films (with white protective paper). 1 Clean the surface. 2 Uncover the protective paper of the hooks. 3 Fix the hooks in the buckle properly on the rack. 4 Place the whole product to your preferred position on the surface, then gently press. 5 Screw the cap of the hook to separate the films, they should be mounting on the surface. 6 Press a little hard on the film surface to squeeze out the air. 7 Fix the hook and caddy back properly. Notice: It would be better to place heavy items 12 hours later. B. For fine-grained surface, use adhesive films (with pink protective paper). 1 Clean the surface. 2 Screw the cap of the hook to remove the white film and use pink film instead. 3 Uncover the protective paper of the pink film. 4 Fix the hooks in the buckle properly on the rack. 5 Place the whole product to your preferred position on the surface, then gently press. 6 Screw the cap of the hook to separate the films, they should be mounting on the surface. 7 Press a little hard on the film surface to squeeze out the air. 8 Fix the hook and caddy back properly. Notice: It would be better to place heavy items 12 hours later. C. For rough surface, use the metal sheet kit. 1 Position the metal sheets and mark the hole location. 2 Drill holes on the wall and fill each hole with a rubber plug. Notice: Choose the location carefully before drilling. 3 Screw the screws to the wall through holes of the metal sheet, fix the metal sheet on the wall. Each metal sheet needs 2 screws. 4 Place the main hook on the metal sheet then tighten the cap. 5 Fix the caddy on the hooks properly. In view of the different mounting surface conditions, we highly recommend to use C method to permanent fixing to the wall with screws.
0
|