Item Descriptions:
Attention point of continuous control cable and camera:
Connection method
1. Connect the stabilizer to the computer or APP.
2. Select "Settings" menu in "Sony" and save it.
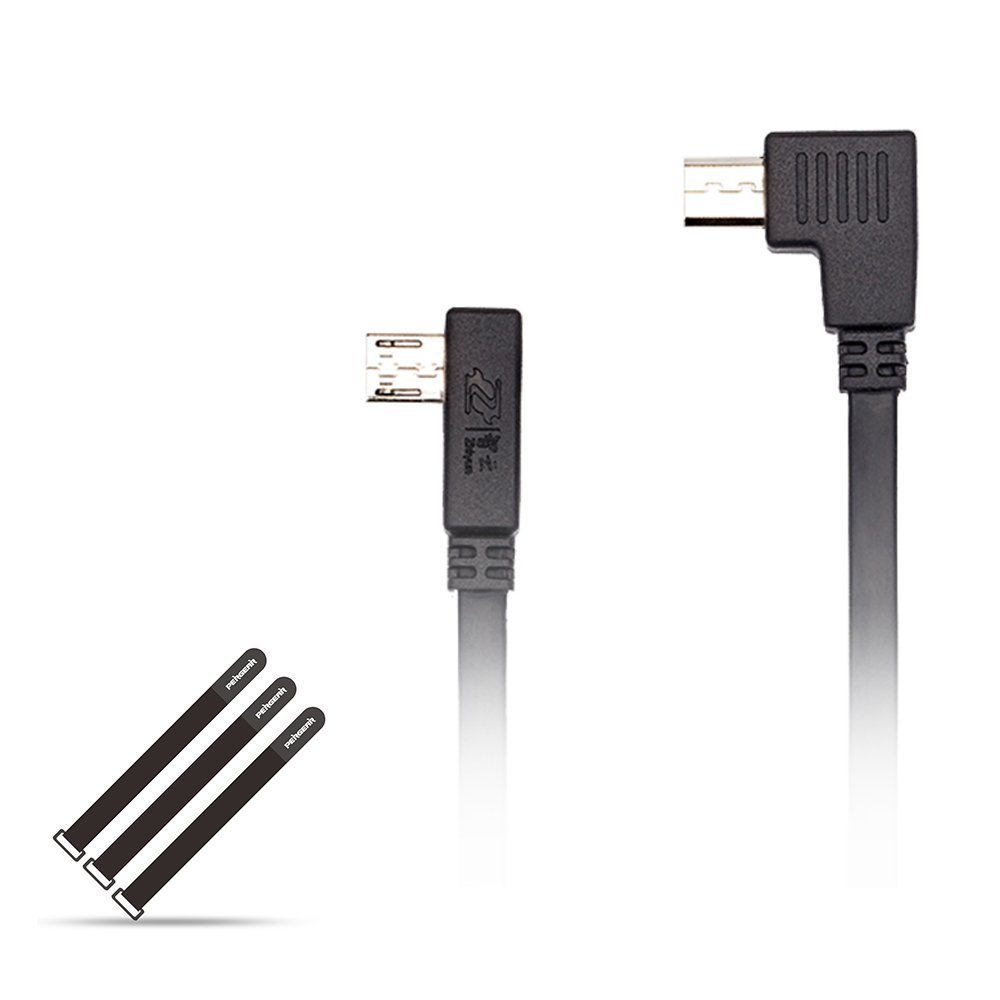
3. Insert the control cable into the micro USB port inside the tilt motor (do not mistakenly connect it to the port on the handle).
4. Turn on stabilizer power (It is necessary to turn stabilizer power on in front of the camera.)
5. Turn on the camera.
please note:
It is necessary to turn on the stabilizer before turning on the camera.
Package contents:
1 * Sony camera control cable
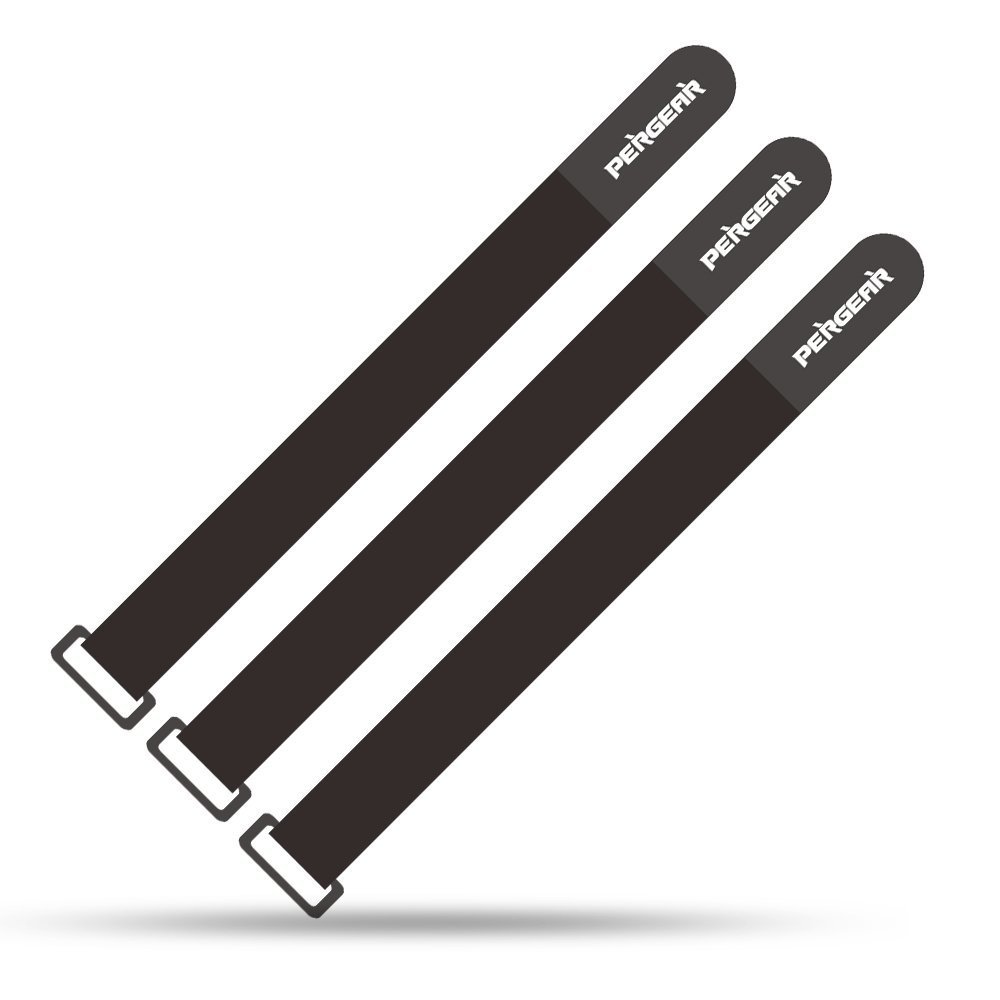
3 * Pergear Magic Sticker
About warranty:
One year after purchase is the warranty period.
If it breaks down, please contact us from the purchase history of Amazon, you can exchange / repair the product at your request by detailed problem.
★ However, it will be out of warranty for breakage, remodeling or breakdown due to your own use.
Features:
Product information:
Shipping Weight: 36 g
Package Dimensions: 3.00 x 10.11 x 17.80 cm
Customer reviews from Japan:
 It is convenient.
Cable to enable control from the camera stabilizer. Usability was improved using this.
 I used it for the time being
I do not know if the price (2,899 yen) is reasonable, but I could use it without any problem in the test after arrival. Also, I want to watch durability in the future. I will write the procedure for reference. 0. Please check whether the camera is compatible model. 1. Install "Zhiyun Assistant" on a smartphone or tablet. 2. Attach the camera to the Crane, first turn on the power of the Crane. 3. Connect "Bluetooth" from "Zhiyun Assistant" to Crane. The Crane side does not need to set anything in particular. Just turn on the power and it is OK. Tap "connection" at the top left of the smart screen, select the crane that appears in the list, and automatically move to the battery capacity screen when it is recognized. 4. Continue selecting the manufacturer of the target camera with the item at the bottom of the "Zhiyun Assistant" setting. Since it is "Close" at the initial time, in addition to the target camera, select Sony or Panasonic. 5. Use this product to connect the camera to the camera. The side written "Ginbal" on the cable is the Crane connection. Crane is puzzled because there are two similar entrances, but it is not on the side of the crane holding hand, but connects to the socket on the side near the camera mounting right side. 6. Turn on the camera and check whether it operates normally. There was nothing particularly set up on the camera side. (It is confirmed with sony rm 100 m 3) It is quick to confirm that you can start recording by crane's power button double click. --- If there is a reason not to be recognized, it is about Crane 's firmware (V1.5 or higher) difference, or whether the cable is properly connected. Regarding cables, there is a customer FAQ "Reversing the connector and reinserting it." However, it is obvious that such a thing will break, so you should not try it. The connector can only be inserted in a unique direction. If you can connect to the right place, you should be able to connect without putting too much force into play without playing. For your reference.
Zooming and recording operation is still convenient at hand.
It operated without problem with Zhiyun crane v2 and α6500. In the iPhone application, the setting on the crane side did not switch to SONY no matter how many times but when it set up with the USB version of the Zhiun Gimbal Tool of the PC version, it started to work. Although other people are also written, it is regrettable that the adjacent HDMI terminal can not be used because it is an L type connector.
Contact failure
I bought it outside of Amazon, but again the first movement was unstable, and it moved or did not move. I confirmed the firmware Ver., Changed the order of the power supply, and set the maker again with the application, but within that time it did not work at all. I thought that this could not be thought other than a contact failure of the terminal, and when I applied nanocarbon as a contact point, it became possible to use it stably. I do not think that it applies to all troubles, but I encourage those who are in need of trying once. However, too much paint may cause a short circuit with other contacts, so please do not do it carefully.
SHIPPING METHOD
Delivered directly from Japan by Japan Post. It will take 3 to 5 business days to prepare the order for shipping. We guarantee careful packing and safe shipping.Please note that in some cases additional import or VAT charges may incur and have to be borne by the client.
1. Japanpost registered mail
Shipment by Japanpost Registered Mail (Standard). Trackable any time with tracking number. Insurance is not available. Delivery time usually is between 1-3 weeks from the date of dispatch. Some items are not eligible for Standard Shipping.
2. Qxpress Standard
Shipment by Qxpress standard service. Trackable at any time with tracking number. Registered and insured up to a value of item price and shipping fees.Delivery time is usually between 5-10 business days from the date of dispatch.
3. EMS
Shipment by Expedited Mail Service. Trackable at any time with tracking number. Registered and insured up to a value of $200 and usually delivered in 2-6 business day from the date of dispatch.

| Japanpost registered mail | Qexpress | EMS | |
|---|---|---|---|
| Shipping Method | Japanpost Registered Mail (Standard) | Standard Qexpress | EMS (Expedited Mail Service) |
| Trackable | Yes | Yes | Yes |
| Insured | N/A | Yes (Up to item price and shipping fees) | Yes (Up to $200.00) |
| Asia | 1-3 weeks | 5-10 days | 2-5 days |
| Oceania; North America; Central America and the Middle East | 2-4 weeks | 6-14 days | 2-6 days |
| Europe | 2-4 weeks | 6-16 days | 3-8 days |
| South America and Africa | 2-4 weeks | 10-18 days | 4-8 days |
NOTICE:
"According to Qoo10 guide line,overseas shipping fees will be charged to you extra if you choose Qxpress standard shipping.We recommend you to compare the total price of your purchase with EMS."
