Studio : Travelin K9 Publisher : Travelin K9 Binding : Misc. Product Description
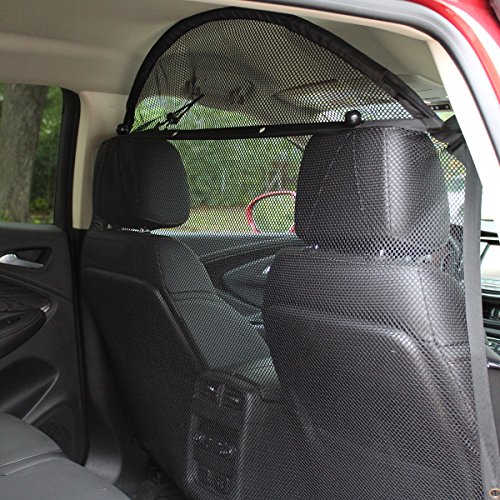
Pet Net Barrier kit | 49" w Parts List 1. Pet Net mesh body 2. Fiberglass rod (for top curve) 3. (2) ball bungees (for headrests) 4. (4) hook bungees for corners ?CURVED TOP - (Optional): You can choose to have the curve raised, or let it hang down, depending on your visibility requirements. In smaller vehicles, the curve reaches all the way to the ceiling. It is very flexible and will bend slightly to conform to the shape of your roof... also helping it to stay in position. -If you choose to let the curve hang down, remove the fiberglass rod and place the extra netting between the seat and the netting to keep it secure Installation guidelines 1. We suggest the Installation video ... travelin-k9.com 2. Assemble fiberglass rod, thread through sleeve, bend slightly to insert in end pockets. 3. Insert the "looped" end of both ball bungees through the appropriate grommet, grab the remaining 4 hook bungee cords and climb into the back seat of your vehicle. 4. Wrap and stretch the ball bungee cords around your headrests. Loosely holds NET for next step. 5. Top Corners attach to the handles above each door (or side handles in some SUV's, Trucks Mini-Vans) bottom corners attach to the seat frame NOTE: Not intended to stop a determined dog - some training required net will not keep a determined dog from coming around the sides of seats QUESTIONS: Please make sure there are overhead or side pillar handles in your vehicle to attach the hooks before you place your order
0
|