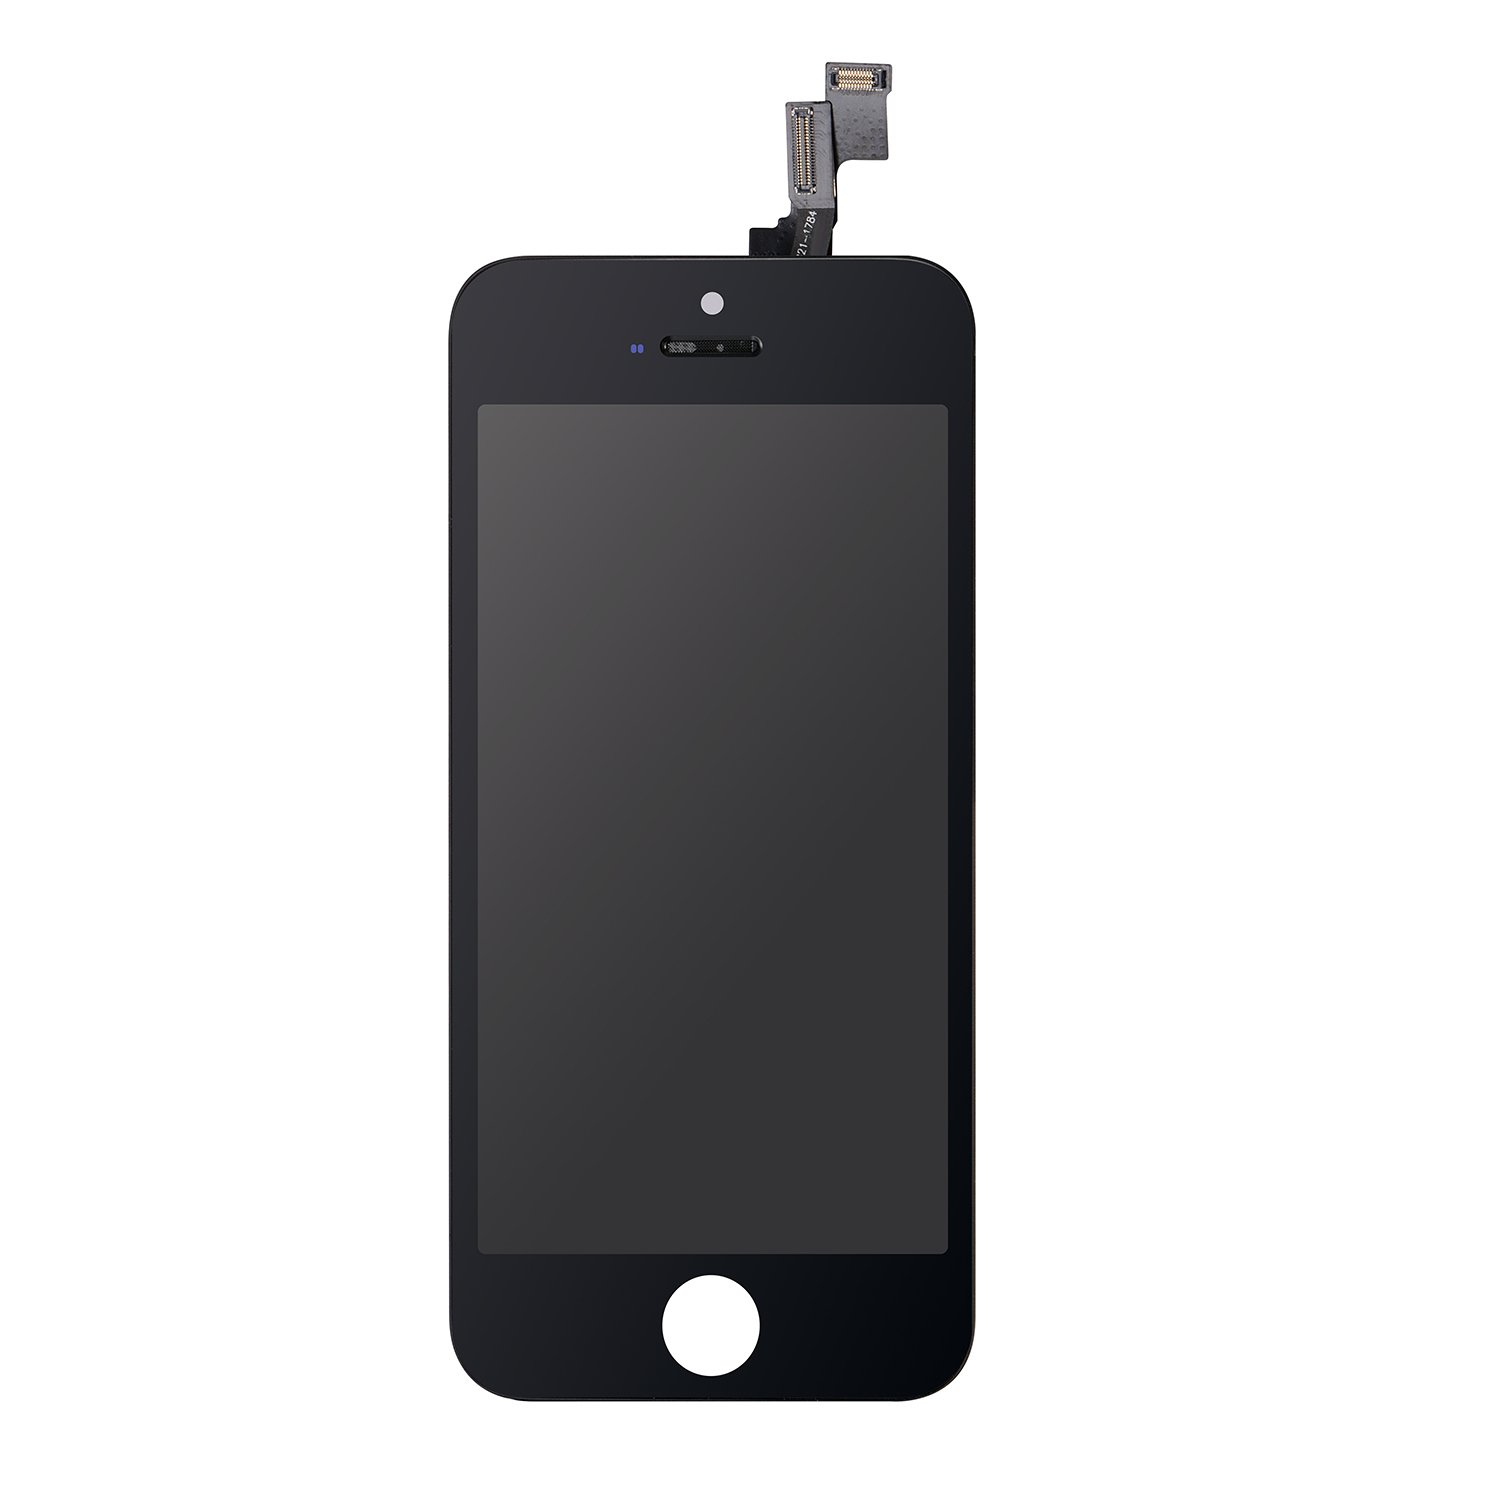
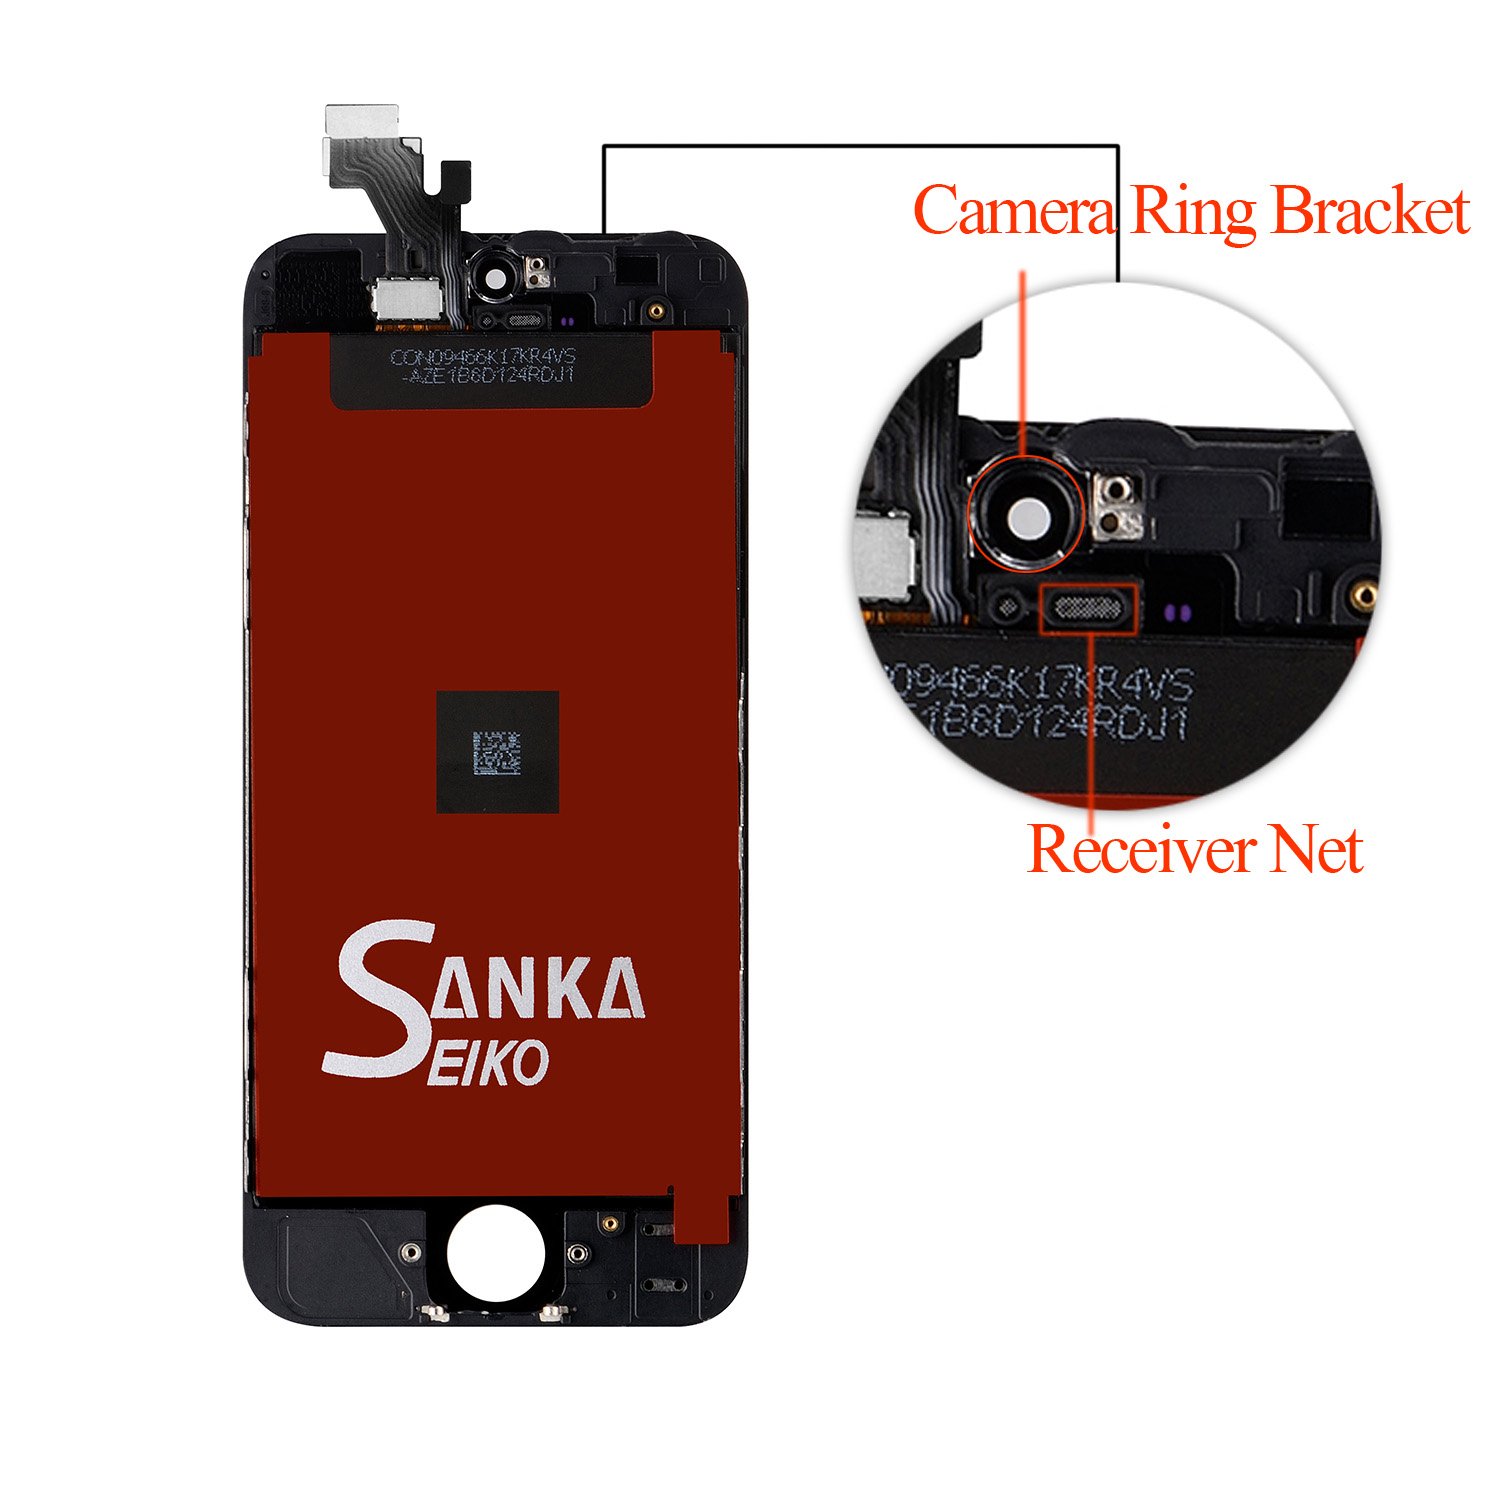
Item Descriptions:
Color:
5S black
1. Remove the lower screw:
Be sure to turn off the main unit before starting repair.
If you work without turning off the power, there is a possibility that it leads to main body defects and unexpected accidents.
Remove the screws on both sides of the bottom / dock connector.
2. Removing front panel (2-4):
Attach the suction cup to the somewhat above the home button and remove it.
Since the front panel requires a force to open relatively, please install the suction cup tightly.
When the front panel has cracked, paste packing tape etc on the surface, remove it so that no air enters, we will do removal.
When installing with a suction cup and applying force on it, a slight gap will be created between the body and the panel.
Since relatively clearance is likely to occur on the lower left side (in the photo, on the lower side), insert the plastic tool into the generated gap.
In this step, please do work with keeping the gap of the photograph in mind.
In order to remove the internal cable etc. in the next step, there is a possibility of breakage if forcibly removing it.
Please work carefully.
At this stage, since the cable is connected to the front panel and the main body side, it is not removed from the back panel.
Since we will not use suction cups at this point, we will remove the suction cup from the protrusions at the end of the sucker.
3. Remove front panel (5-7):
If you float the front panel to the extent of the photograph, you will see the cable for the home button inside.
Insert the plastic tool / tweezers from the gap and remove it.
After removing the connector, it will open more.
Since the cables are still connected at the upper part, let only float the lower part like 90 degrees to be 90 degrees.
Remove the two screws attached to the bracket.
4. Removing bracket (8):
After removing the screws, remove the bracket from the main body.
5. Remove the battery connector (9):
Using the back side of the plastic tool, remove the connector part of the battery from the main body.
Be careful not to remove the socket attached to the logic board at this time.
6. Remove screws (10):
While holding the front panel by hand with 90 degrees, remove the left screw.
1.7 mm screw × 2 (red)
1.2 mm screw (orange)
1.3 mm screw (yellow)
Please remember exactly where you need to return each screw in order to return the screw later.
If you mistake the installation place of the screw at the time of assembly, the logic board will be damaged and the mobile itself will be broken.
7. Removing the plate (11):
Remove the cable bracket after screw removal.
8. Remove cable (12):
Remove the front camera sensor cable.
9. Remove digitizer cable and LCD cable (13-15):
Remove the digitizer cable.
Remove the LCD cable.
Make sure all cables are disconnected and remove the front panel from the rear case.
10. Remove screws (16):
Remove the following two screws fixing the bracket.
4.0 mm screw
Please be careful not to mistake the installation of these two screws when assembling.
If you mistakenly install it, it may cause serious damage to the main unit.
2.3 mm screw
11. Remove ear speaker (17 - 20):
Using the plastic tool, push the figure to the left to remove the speaker bracket.
Be careful not to apply excessive force as it is only removing the part that is caught.
Confirm that the removal of the bracket was done in the previous step and remove with tweezers.
Since you do not need any power if you release the snag, please remove it without putting in particular power.
Continue to remove from previous step.
After removing the bracket, remove the ear speaker.
Be careful not to touch the gold part when removing with a finger at this time.
If you touch parts of gold, oil and dirt will interfere with normal connections.
12. Remove front camera cable (21-24)
We will remove the front camera cable.
When adhesion etc is strong and it is hard to come off, it will be possible to remove it smoothly if you warm up with a dryer etc.
Continue to step 21 and remove the front camera cable from the panel.
If you complete the previous process, the front camera will be away from the front panel as shown in this image.
Remove the left screw securing the home button cable.
13. Remove the home button bracket (25-28):
I finish turning the screw.
Using the plastic tool, remove the home button cable to the front side.
Move the cable to the position of the photo.
Remove the following two screws that stop the home button bracket.
After removing the screw, remove the home button bracket from the main unit.
14. Remove the home button (29 - 30):
In the photograph, let the plastic tool slide under the cable part on the right side of the home button and gradually float it.
We will gradually remove parts.
Make sure that all parts attached to the home button are removed from the panel and push up the home button from the front panel surface.
Insert the plastic tool at the stage where the point to be hooked is formed on the home button.
After inserting, pull up to the near side and remove the home button.
15. Removing the LCD shield plate (31 - 32):
Remove the following screws in the figure that are on the back of the front panel.
2.7 mm screw
To remove the LCD frame, remove the following four screws.
(31 - 32)
Then replace the front panel with a new one and go back to the previous procedure.
Be sure to reattach the LCD shield plate and other small accessories to the new front panel.
Features:
- Please enter model number Confirm this is compatible:
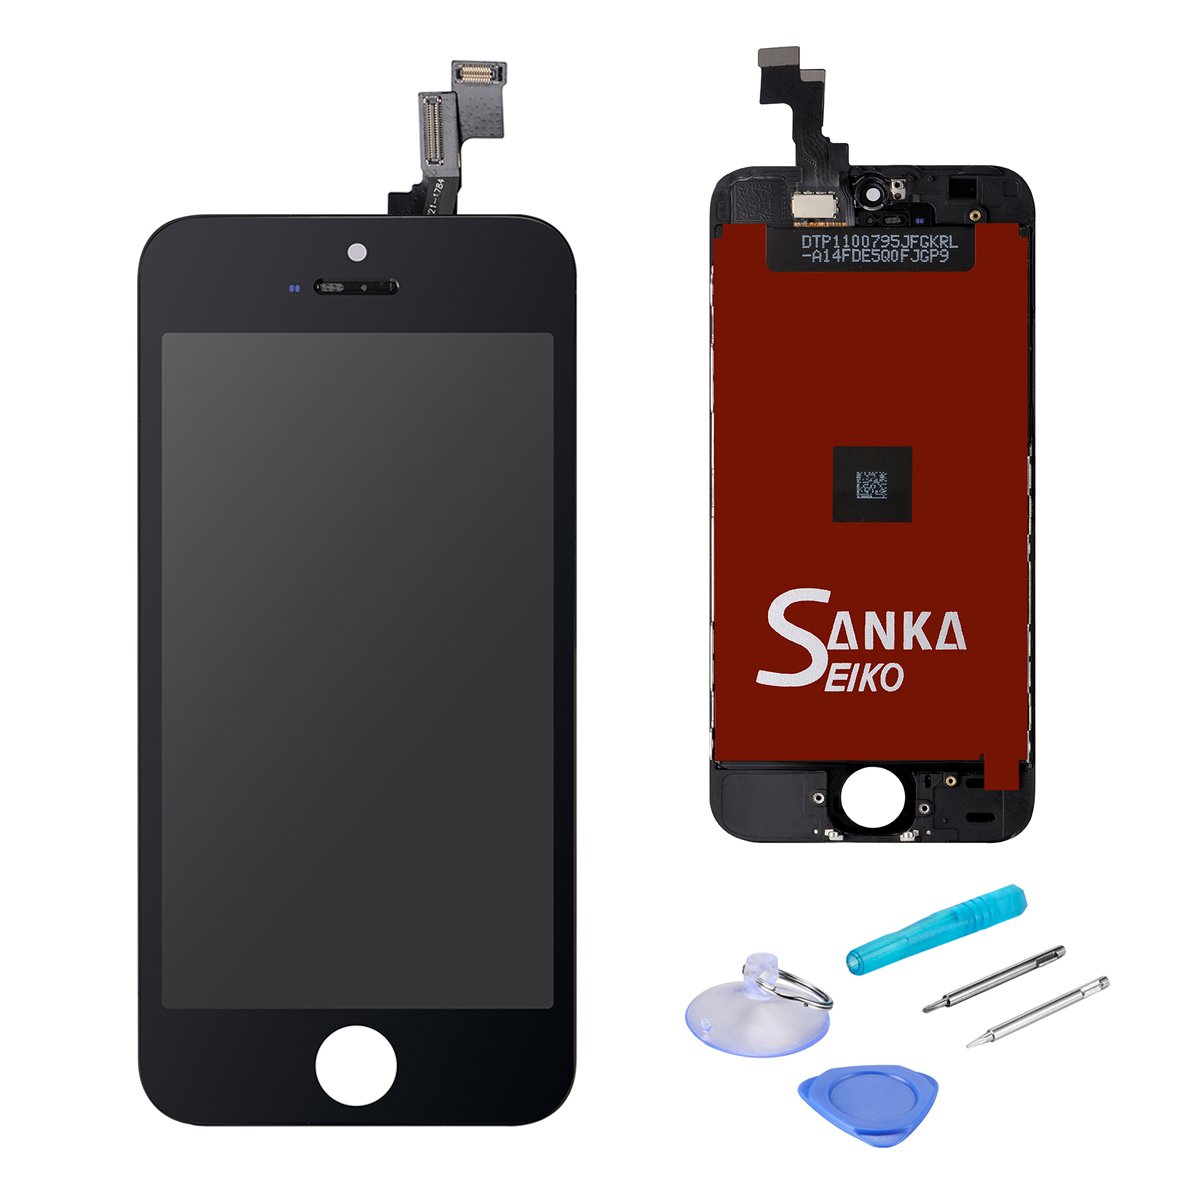
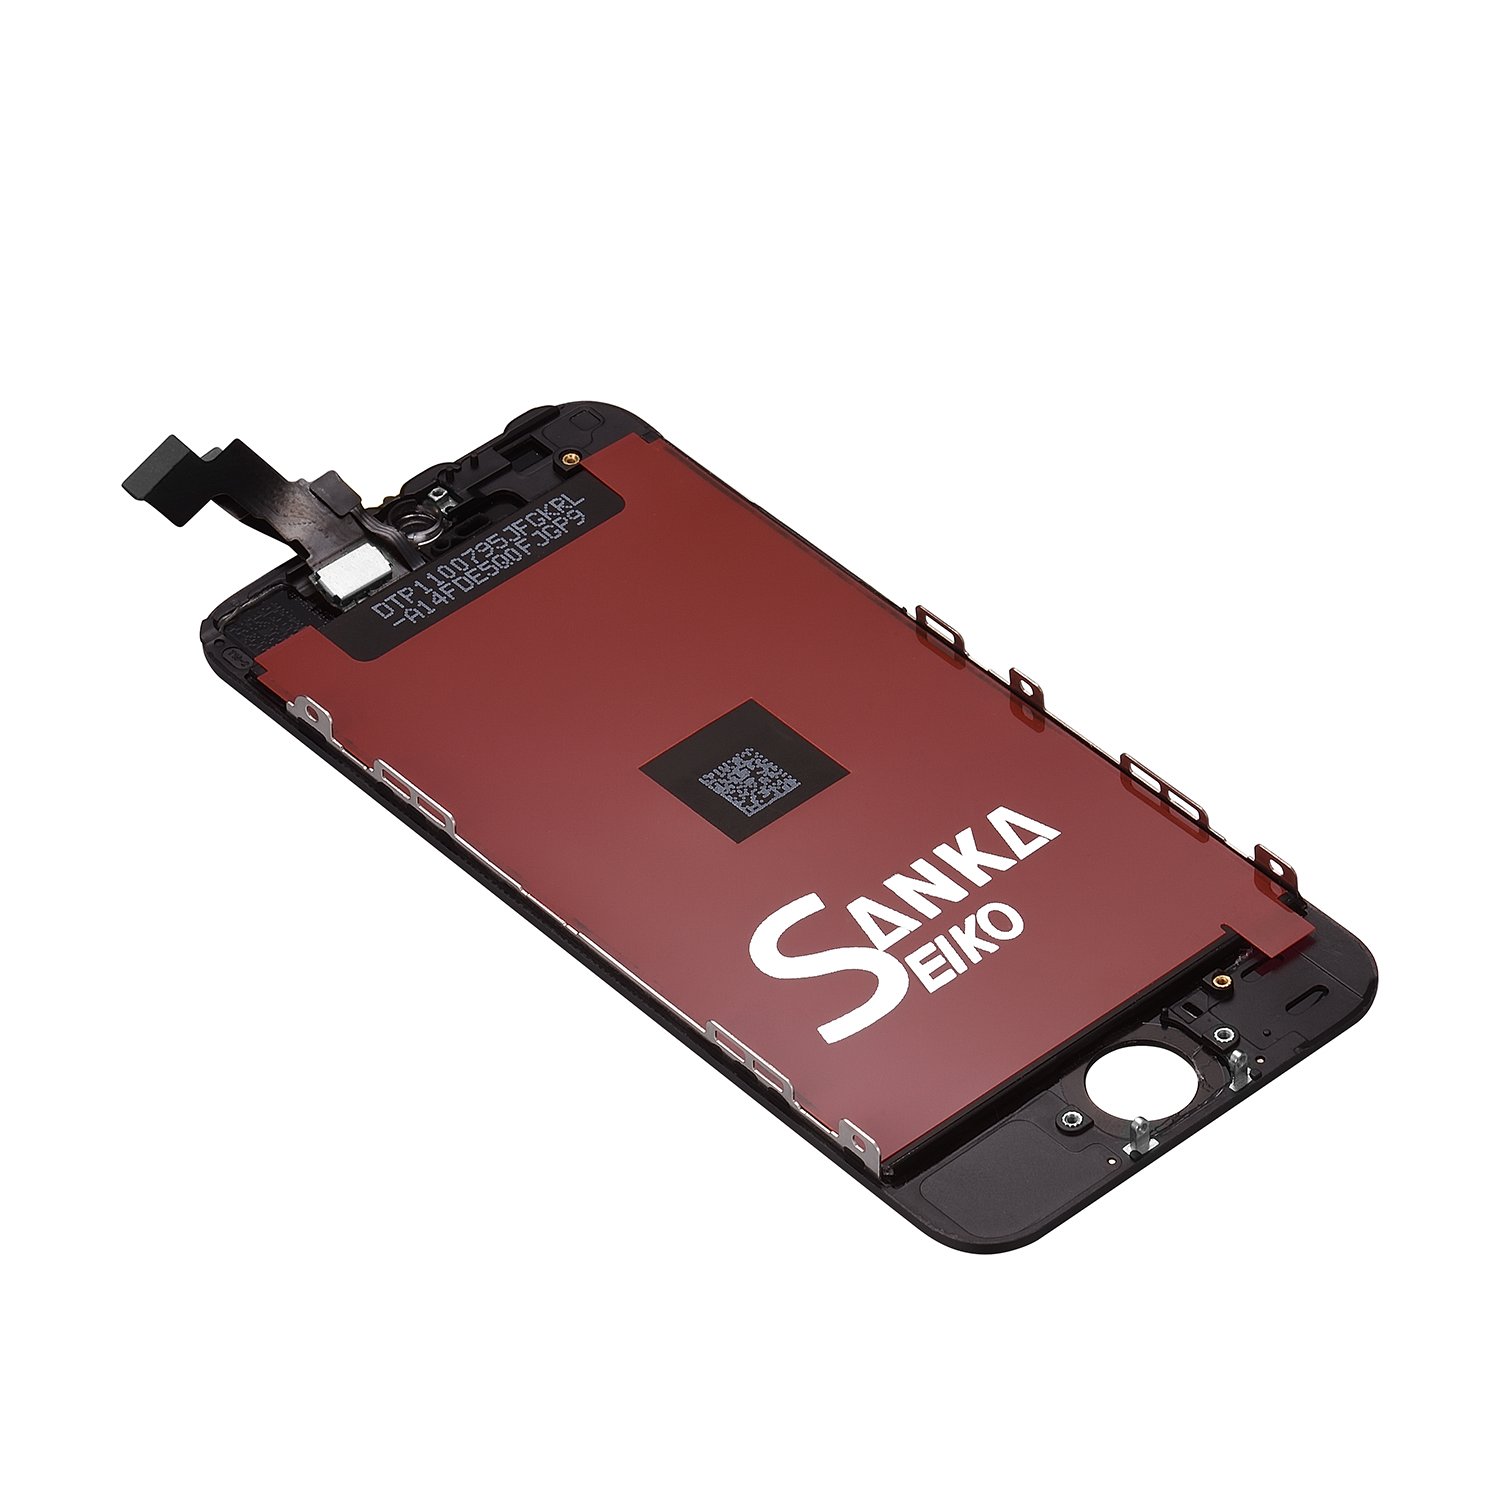
- It is a high quality LCD touch screen (black) corresponding to iPhone 5S (A 1453, A 1457, A 1518, A 1528, A 1530, A 1533).
- Since the fixing of the ear mesh and the camera is attached, it is not necessary to remove these two parts from the broken body
- I ship from Amazon.
- It is scheduled to deliver within one day at the shortest
- It is a screen for trouble restoration such as display trouble, broken pixels, LCD screen crack, coloring trouble, screen breakage etc.
- Please turn off the main unit before starting repair.
- Attached with specialized repair tools, you can easily tighten the screws.
- More convenient and safe
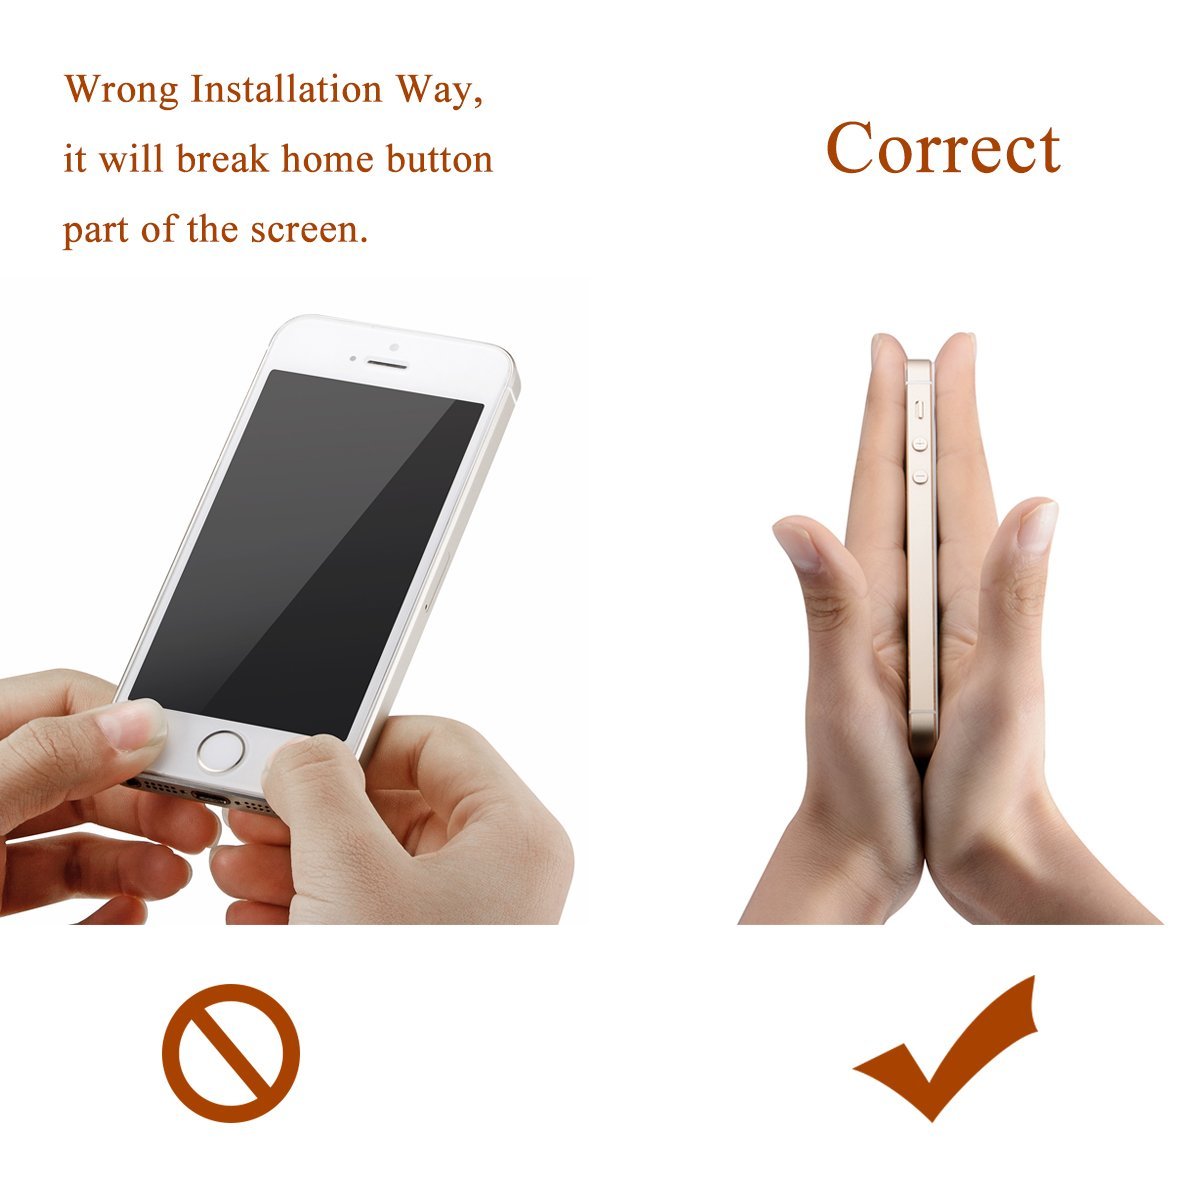
- The installation of the screen requires some knowledge and skill, so please refrain from exchanging yourself if you do not have the technology.
- We will proceed with replacement repair at a specialized repair shop.
- Testing against the front panel is very important in order to avoid improper operation and unexpected damage by the customer during the process of installing the front panel.
- Please contact us if you have problems such as touch failure and video formatting, please contact us, since we take responsibility, please be assured
Product information:
Shipping Weight: 77 g
Package Dimensions: 1.80 x 11.00 x 17.40 cm
SHIPPING METHOD
Delivered directly from Japan by Japan Post. It will take 3 to 5 business days to prepare the order for shipping. We guarantee careful packing and safe shipping.Please note that in some cases additional import or VAT charges may incur and have to be borne by the client.
1. Japanpost registered mail
Shipment by Japanpost Registered Mail (Standard). Trackable any time with tracking number. Insurance is not available. Delivery time usually is between 1-3 weeks from the date of dispatch. Some items are not eligible for Standard Shipping.
2. Qxpress Standard
Shipment by Qxpress standard service. Trackable at any time with tracking number. Registered and insured up to a value of item price and shipping fees.Delivery time is usually between 5-10 business days from the date of dispatch.
3. EMS
Shipment by Expedited Mail Service. Trackable at any time with tracking number. Registered and insured up to a value of $200 and usually delivered in 2-6 business day from the date of dispatch.

| Japanpost registered mail | Qexpress | EMS | |
|---|---|---|---|
| Shipping Method | Japanpost Registered Mail (Standard) | Standard Qexpress | EMS (Expedited Mail Service) |
| Trackable | Yes | Yes | Yes |
| Insured | N/A | Yes (Up to item price and shipping fees) | Yes (Up to $200.00) |
| Asia | 1-3 weeks | 5-10 days | 2-5 days |
| Oceania; North America; Central America and the Middle East | 2-4 weeks | 6-14 days | 2-6 days |
| Europe | 2-4 weeks | 6-16 days | 3-8 days |
| South America and Africa | 2-4 weeks | 10-18 days | 4-8 days |
NOTICE:
- For overseas delivery, please be aware that damage to the outer box can be seen.
- If you would like to avoid as much damage as possible, please choose the EMS shipping method.
"According to Qoo10 guide line,overseas shipping fees will be charged to you extra if you choose Qxpress standard shipping.We recommend you to compare the total price of your purchase with EMS."
